¿Cansado de la baja calidad de tus fotos de la vía láctea?
¡Lleva tu fotografía de la Vía Láctea hasta el infinito y más allá!
Domina todas las técnicas necesarias para hacer fotografías impresionantes de la Vía Láctea, tanto si estás empezando como si ya cuentas con experiencia.
Tired of getting low-quality Milky Way photos?
Take your Milky Way Photography to infinity & beyond!
Master the skills it takes to create breathtaking images of the Milky Way – whether you’re a total beginner or an experienced photographer.
Captura La Vía Láctea
Para conseguir buenas fotografías de la Vía Láctea se requiere de experiencia y conocimientos en diversas áreas, desde la planificación y la composición hasta las técnicas de captura y edición.
Sin embargo, no es tan sencillo como parece…
Puede que ya tengas un buen equipo fotográfico, e incluso que hayas pasado horas mirando tutoriales sobre fotografía de Vía Láctea en YouTube. Seguramente crees haber hecho todo lo posible por conseguir una imagen de la Vía Láctea que atrape y aun así no has alcanzado el resultado que esperabas.
Y no paras de decirte:
Mis fotografías tienen ruido y una calidad pésima
Las estrellas no están bien enfocadas, por lo que no se ven nítidas como puntos
Me siento perdido con la edición, solo hago ajustes sin sentido esperando a que suene la flauta
He comprado un tracker y aún así no consigo capturar las imágenes que quiero
El blending de mis imagenes no queda nada natural y distrae la mirada del espectador
Sé fotografiar la Vía Láctea, pero a mis fotografías les falta algo
Si te has sentido identificado con alguna de estas afirmaciones, no te preocupes porque a mí también me ha pasado.
Sé lo frustrante que es gastar mucho tiempo y energía en fotografiar la Vía Láctea y no ver los resultados esperados.
Empecé a fotografiar la Vía Láctea hace bastantes años. Al principio mis imágenes eran horribles, ya que tenían una gran cantidad de ruido y daban un aspecto de baja calidad.
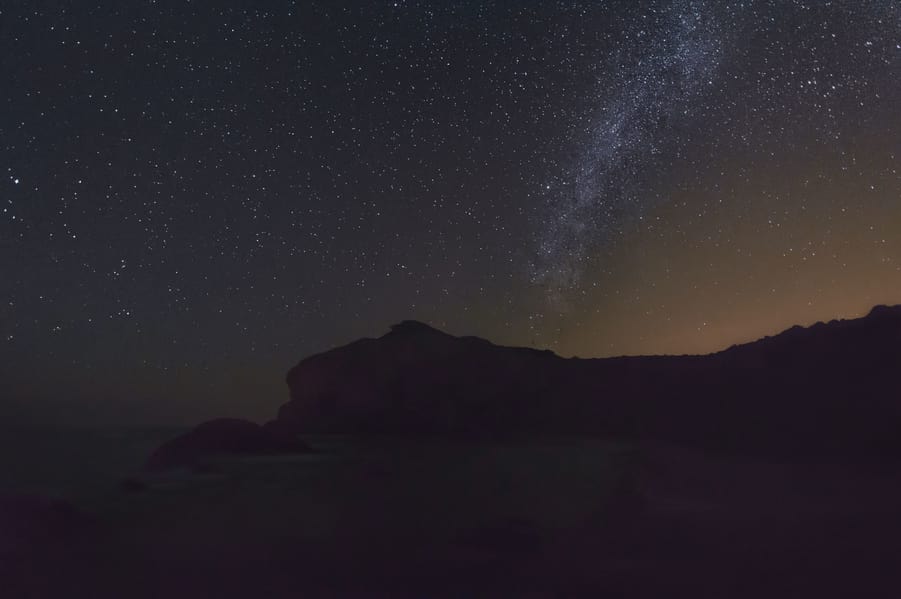
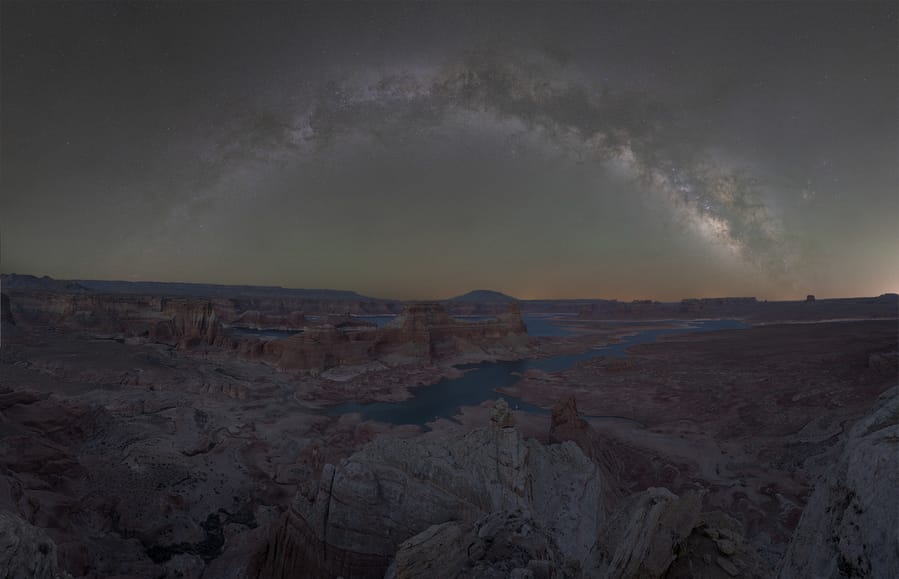
Con tiempo y práctica conseguí mejorar los resultados y tener imágenes más limpias y de más calidad:
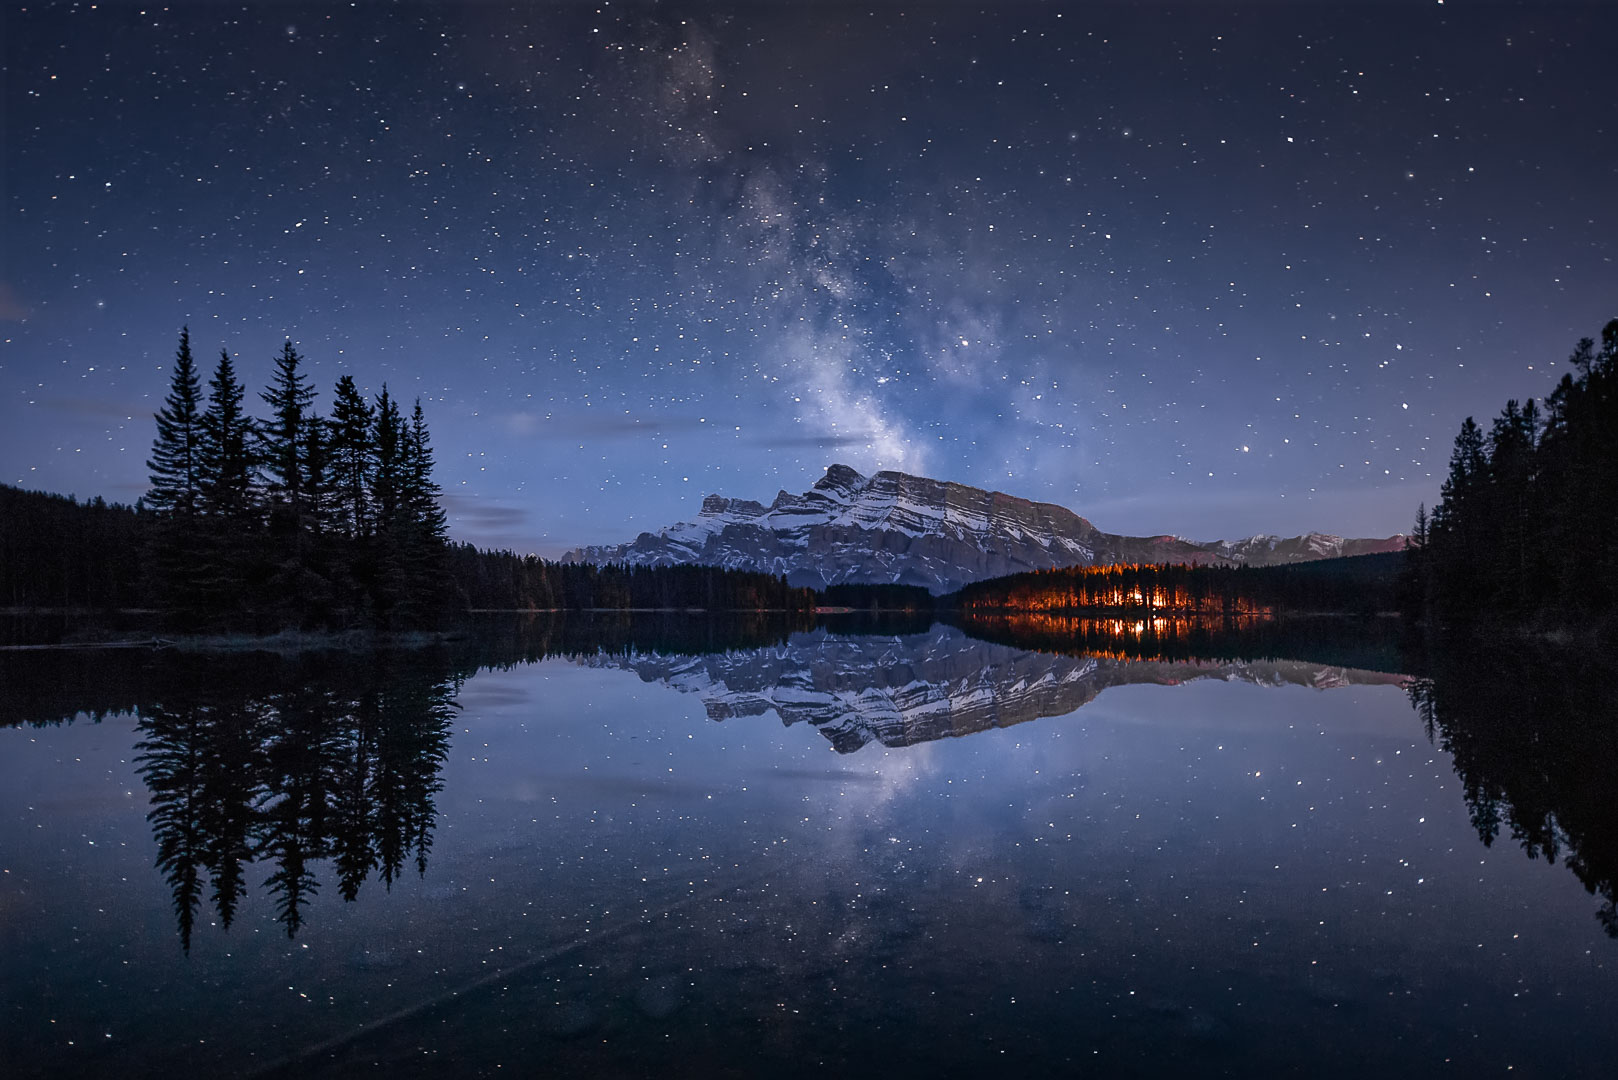
Sin embargo, a mis fotografías aún les faltaba algo, ya que no tenían los detalles, los colores y el impacto que estaba buscando.
Fue entonces cuando me di cuenta de que si quería mejorar tenía que sumergirme en este género de fotografía.
I.
Aprendí a planificar utilizando las mejores aplicaciones y herramientas de astronomía.
II.
Estudié composición y analicé las mejores imágenes de la Vía Láctea para conocer el por qué funcionaban tan bien.
III.
Busqué el mejor equipo y me compré mi primer trackeador de estrellas, el punto de inflexión en mi fotografía de Vía Láctea.
Iv.
Dediqué cientos de horas a probar ajustes y técnicas de disparo…
V.
…Y pasé cientos de horas delante del ordenador aprendiendo técnicas complejas de edición en fotografía nocturna para introducirlas en mi flujo de trabajo.
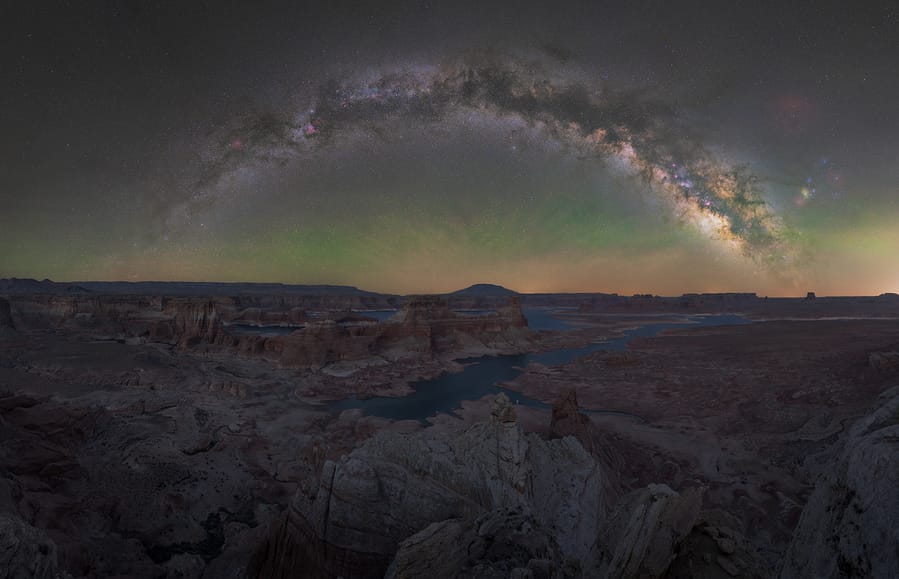
Después de todo este duro trabajo conseguí capturar lo que estaba buscando: imágenes con composiciones impactantes y cero ruido digital, que muestran todos los detalles, nebulosas y colores naturales de la Vía Láctea:


Todo esto fue un proceso largo y duro, que tardé años en aprender, desarrollar y adaptar a mi propio flujo de trabajo.
Ahora quiero que este conocimiento esté accesible para ti. La fotografía de la Vía Láctea es uno de los tipos de fotografía más emocionantes, conmovedores y gratificantes, por lo que todo el mundo debería tener la oportunidad de capturar mejores imágenes de una forma fácil, independientemente de tus habilidades y conocimientos iniciales.
Por eso he creado:
Captura La Vía Láctea
El curso definitivo de fotografía de Vía Láctea
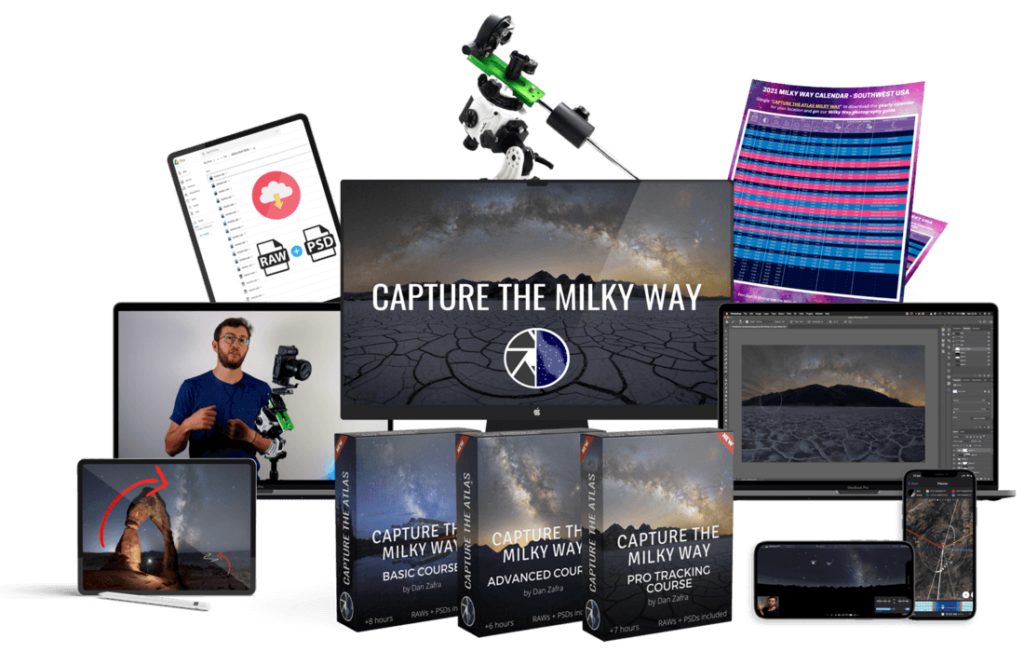
Ya sea que quieras aprender las técnicas más avanzadas como trackear estrellas, llevar tus fotografías de la Vía Láctea a otro nivel o simplemente estés empezando en este apasionante género, mi curso Captura La Vía Láctea te impulsará.
Después de hacer este curso online:

Capturarás imágenes de gran calidad de la Vía Láctea hasta con un equipo básico

Conocerás las mejores técnicas para obtener imágenes sin ruido

Crearás composiciones de mayor impacto de la Vía Láctea

Aprenderás a usar el trackeador de estrellas adecuado a tu presupuesto y objetivos

Utilizarás las mejores técnicas y ajustes en tu tracker

Capturarás la Vía Láctea con todos los detalles y colores naturales

Ganarás confianza en la edición y aprenderás a usar programas avanzados de forma sencilla

Dominarás mi sencillo y eficaz flujo de trabajo en 6 pasos

Tus blendings se verán muy naturales y la imágen tendrá sensación de uniformidad

No tendrás problema en capturar las imágenes más complejas de la Vía Láctea, como mosaicos y panorámicas con seguimiento de estrellas de varias filas a distancias focales más largas
Y esto es solo el principio… Este completo curso te dará todas las herramientas que necesitas para conseguir las imágenes de la Vía Láctea con las que sueñas.
Esto es lo que te espera:
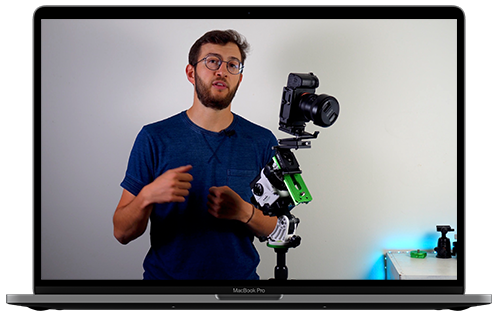
Formación
La formación que necesitas organizada en un programa que va paso a paso y es fácil de seguir.
El material está organizado de forma lógica y según el nivel en tres módulos diferentes.
Asistencia y soporte
Nunca estarás solo: asistencia ilimitada siempre que tengas alguna pregunta o necesites ayuda. No importa qué ni cuándo, siempre estaré ahí para ayudarte en todo lo que necesites.

Materiales
Los mejores materiales para complementar tu formación.
Más de 80 archivos RAW y PSD para practicar la edición, además de planificadores, gráficos y actualizaciones gratuitas del curso para que puedas perfeccionar tus habilidades fotográficas de la Vía Láctea.

Comunidad
Una poderosa comunidad de fotógrafos de la Vía Láctea con ideas afines compartirá el camino contigo.
Haz contactos, comparte tus progresos y recibe críticas y opiniones constructivas sin anuncios, “me gustas” o haters.

ESTE ES UN BREVE RESUMEN DE LOS DIFERENTES MÓDULOS
MÓDULO BÁSICO
21 LECCIONES | 8 HRS 30 MIN
- Planificación de la Vía Láctea
- Equipo fotográfico
- Ajustes de cámara
- Composición
- Edición básica
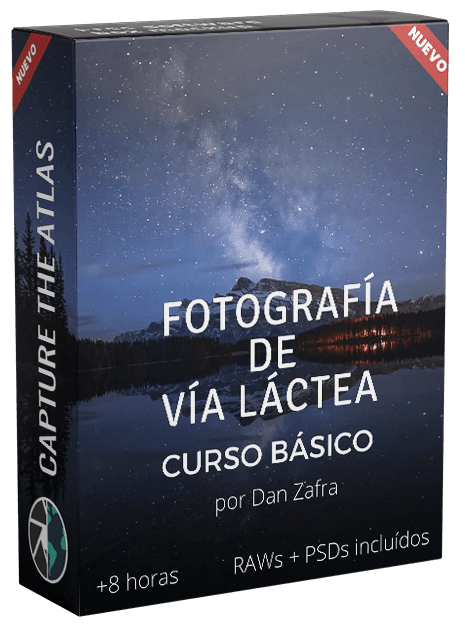
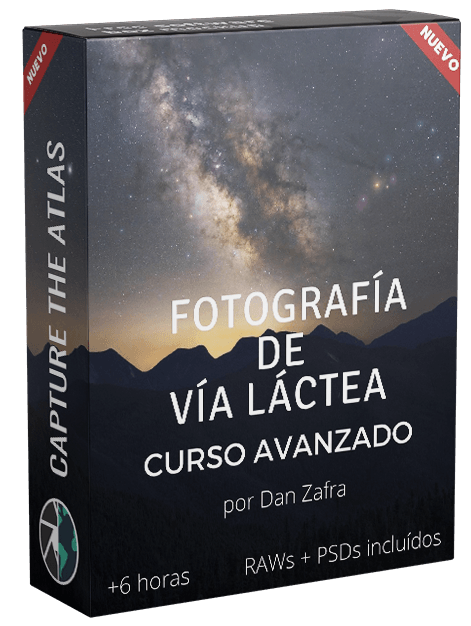
MÓDULO AVANZADO
22 LECCIONES | 6 HRS 30 MIN
- Apilado
- Panorámicas
- Blendings
- Reducción de estrellas
- Edición avanzada
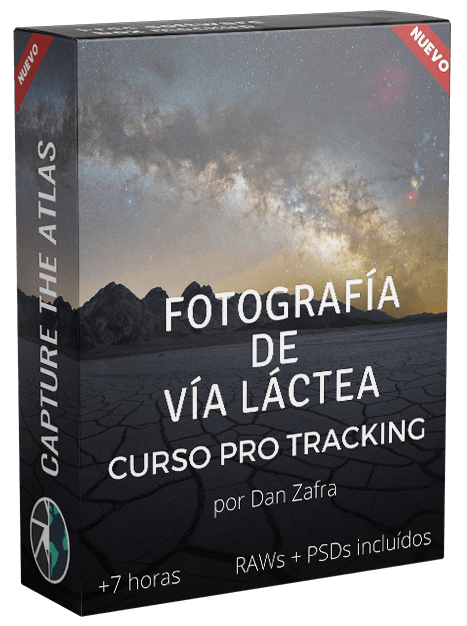
MÓDULO PRO
19 LECCIONES | 7 HRS 30 MIN
- Trackeadores de estrellas
- Alineación polar y configuración
- Panorámicas trackeadas
- Ajustes de trackeo
- Edición pro
EXPLORA LOS MÓDULOS DEL CURSO
CAPTURE THE MILKY WAY BASIC MODULE
1.1. Introduction
A brief introduction to the basic module where we outline the content of the course and the best way to get started.

2.1. when to photograph the Milky Way
The first and most important step when planning. We’ll discuss the best times of year and night, the position of the Milky Way in the sky, moon phases, calendars, and more.

2.2. Where to photograph the Milky Way
Find the best locations both when traveling and near you – light pollution maps, altitude, best weather apps, Bortle scale, etc.

2.3. Milky Way calendars
Learn how to use and read a Milky Way Calendar to plan your photos at a glance.

2.4. Stellarium
Learn the easiest way to use Stellarium, one of the most powerful tools to plan your Milky Way images.

2.5. Google Earth Pro
All the tips and tricks to use Google Earth Pro for finding the best locations and compositions to capture the Milky Way
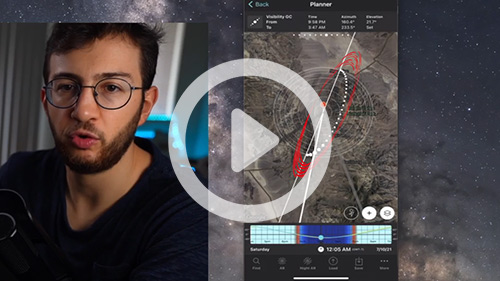
2.6. Photopills
A step-by-step guide to using Photopills for Milky Way planning. We’ll look at all the tools and hidden tricks in the app.
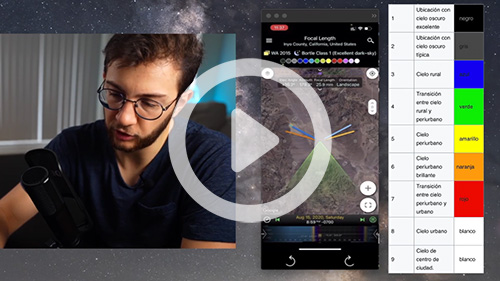
2.7. Planit Pro
Everything you need to know how to use the Milky Way planner app Planit Pro, including all of its functions and most advanced features.
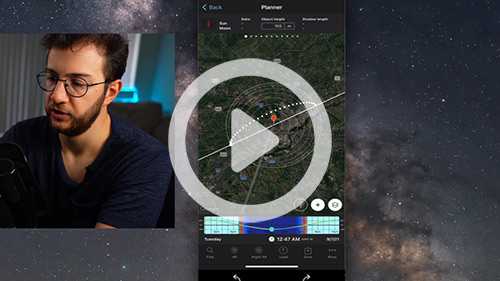
2.8. 4-Step planning workflow
I describe my complete Milky Way planning workflow in 4 easy steps and show you two real cases from start to finish.

3.1. Camera gear
The best camera gear to shoot the Milky Way – cameras, lenses, tripods, headlamps, and more. My recommendations for the best possible gear according to your goals and budget.

4.1. Focus
Learn how to focus like an expert with a real-life example and avoid making the #1 mistake in Milky Way photography ever again.

4.2. Camera settings
The settings you should use in your camera to get the best results. We cover everything, from the key exposure settings to ALL the adjustments that you should set in your camera.

4.3. The histogram
Learn what the histogram should look like in your photos and how to read the histogram in the field with many examples.

5.1. Composition
A complete masterclass in Milky Way composition to learn the best rules and elements that you can use to capture images with impact.

6.1. Introduction to Lightroom
All the basics to get started using Lightroom to edit your Milky Way photos.

6.2. Introduction to Photoshop
A complete beginner’s guide to using Photoshop for Milky Way photography. Basic workflow, adjustments, tools, best settings…Photoshop won’t be daunting anymore!
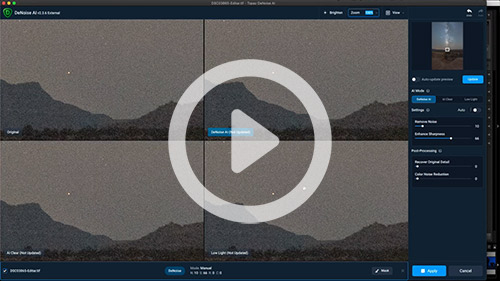
6.3. Denoise AI Noise Reduction
A full tutorial on how to use the best noise reduction software on the market: Denoise AI.
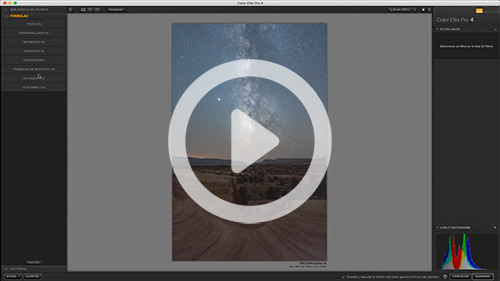
6.4. Nik Collection
Learn how to make the most of this powerful editing tool and which filters work best in Milky Way images.
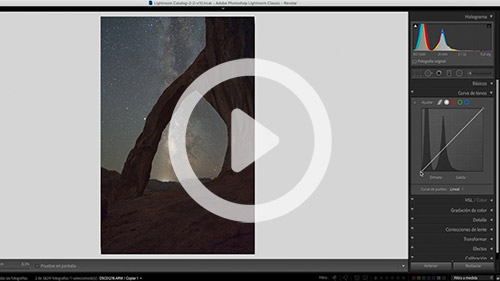
6.5. Edit and Post-processing – Lightroom BASIC
In this video tutorial, I will show you my basic workflow for editing images of the Milky Way in Lightroom.
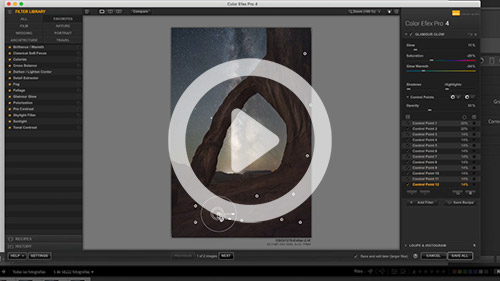
6.6. Edit and Post-processing – Lightroom ADVANCED
Learn the most advanced tools in Lightroom to edit your Milky Way images through a real-life example – Radial & Gradient filters, color and luminosity masking, color separation, etc.
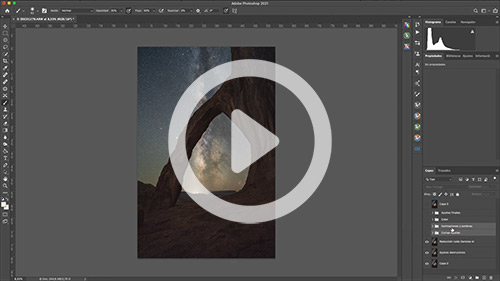
6.7. start-to-finish using photoshop
Learn how to apply some basic and effective tools and adjustments in Photoshop to finish your Milky Way images.
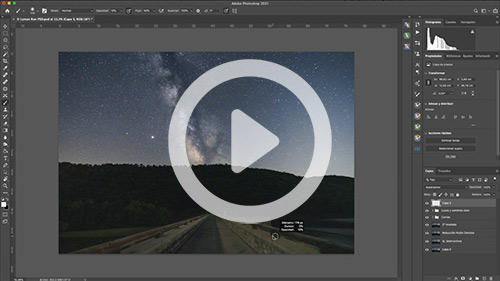
6.8. Start-to-finish
A start-to-finish tutorial where I show my complete basic workflow with all the steps, tricks, and recommendations.

7.1. Conclusion
Some final recommendations that will allow you to have the best possible foundation in Milky Way photography and know the best way to step up your skills before jumping into the advanced module.
CAPTURE THE MILKY WAY ADVANCED MODULE

1.1. Introduction
An introduction to the advanced module where we describe the content of the course and the best way to get the most out of it.
2.1. Foundations of stacking
Stacking is one of the easiest and most powerful techniques to capture less noise and get higher-quality images. You’ll learn what stacking is, how to do it, and why you should stack your images.
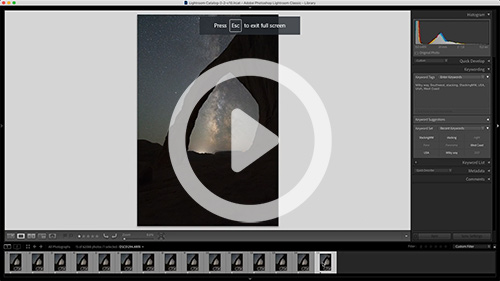
2.2. Stacking – File preparation
The file preparation is the foundation of a successful stacking. Learn all the adjustments and export details that you should apply when you are preparing your stacking.
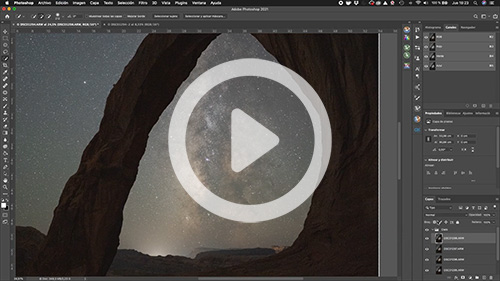
2.3. Stacking in Photoshop
Stacking in Photoshop is possible if you follow all the steps and techniques described in this tutorial.
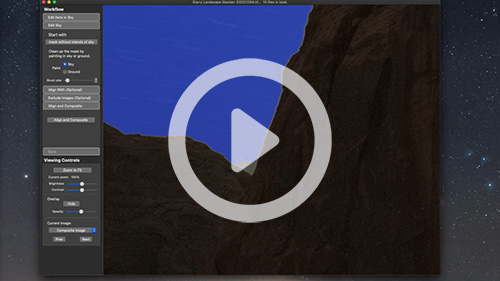
2.4. Stacking in Starry landscape stacker (Mac)
The best software to stack images in Mac. This is a full tutorial on how to use it and some recommendations to get the best results.
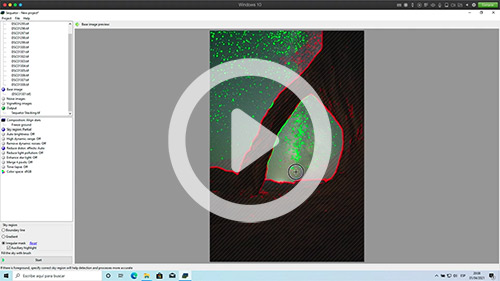
2.5. Stacking in Sequator (Windows)
The best software to stack images in Windows. Learn how to download it, use it, and get clean stacked images in seconds.
3.1. Milky Way panoramas – types and technique
Everything you need to take panoramas – types of Milky Way panoramas, essential camera gear, a step-by-step tutorial of the best technique, and some tips to capture perfect panoramas.

3.2. stitching in Lightroom
We’ll cover different pieces of software to do the stitching process. The first is Lightroom, where you’ll see the easiest process to stitch your panorama.

3.3. stitching in photoshop
A guide to stitching Milky Way panoramas using Photoshop.
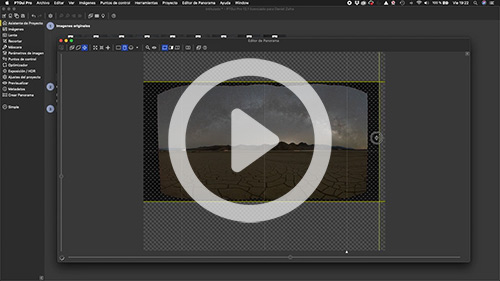
3.4. stitching in Ptgui Pro
Full tutorial on the most advanced panorama-stitching software on the market. Learn the basics and the most advanced tools in PTGui Pro.
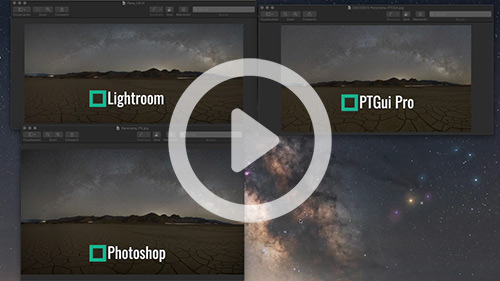
3.5. Comparison: Which software should I use?
We discuss all the pros and cons of using Lightroom, Photoshop, and PTgui Pro for stitching Milky Way panoramas. We analyze a real-life example and I give my recommendations according to your budget and goals.
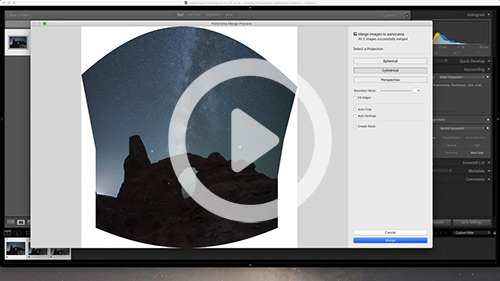
3.6. Bonus: Milky Way vertical panoramas
Bonus video that shows how to capture and edit Milky Way vertical panoramas.
4.1. Blendings in Milky Way photography – types
Blendings are crucial for getting the highest-quality photos of the Milky Way. Learn the different types of blendings for the foreground and for the sky.
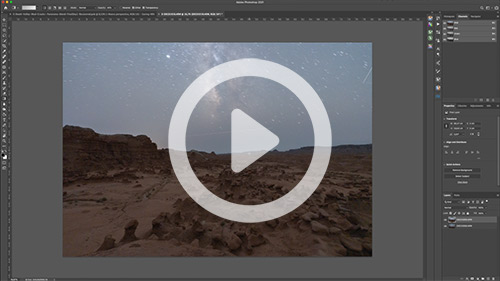
4.2. Blending post-processing: 1st Semiautomatic selections
There are many ways to make selections, and in this video, we will focus on the first type, also known as semi-automatic selections.
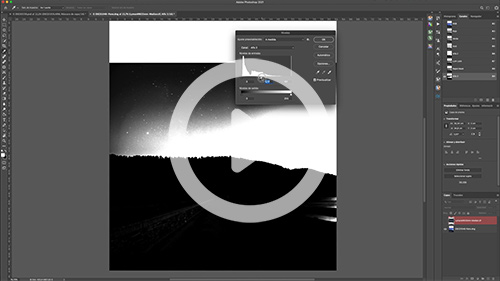
4.3. Blending post-processing: 2nd Luminance and color selections
Learn how to do blendings in complex scenarios, such as shots with trees and branches on the horizon, using luminance and color selections.
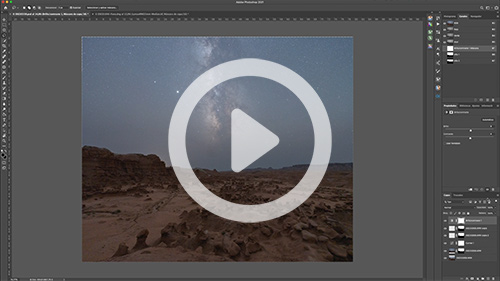
4.4. Blending post-processing: 3rd Final blending of the images
Create a perfect blend of two images that looks completely merged and uniform with a series of steps and useful tricks in Photoshop.
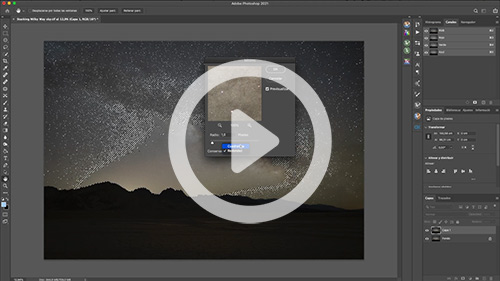
5.1. Advanced post-processing – Star reduction
Reduce the size of the stars and get cleaner images with more details in your Milky Way with the best Photoshop star reduction techniques.

5.2. Advanced post-processing – Milky Way structure
Learn the most advanced techniques to extract and highlight the entire structure of the Milky Way without artifacts or noise.
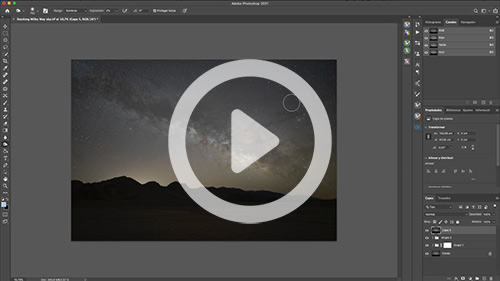
5.3. Advanced post-processing – Dodge & Burn
Using this Dodge & Burn technique will generate more volume and interesting elements in your Milky Way images.
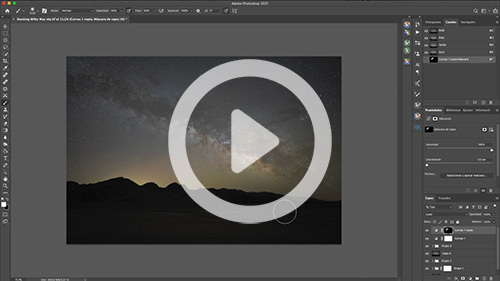
5.4. Advanced post-processing – Natural colors of the Milky Way
I show you the best technique to extract all the natural colors of the Milky Way and the night sky. You’ll extract and enhance all the colors of the nebulae, the stars, the airglow…in a couple of easy clicks!
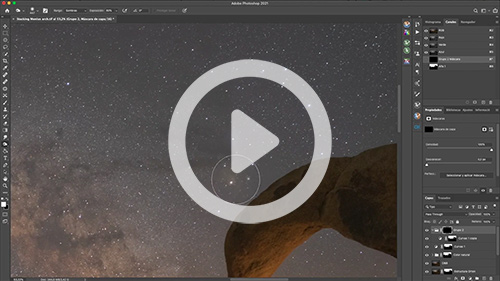
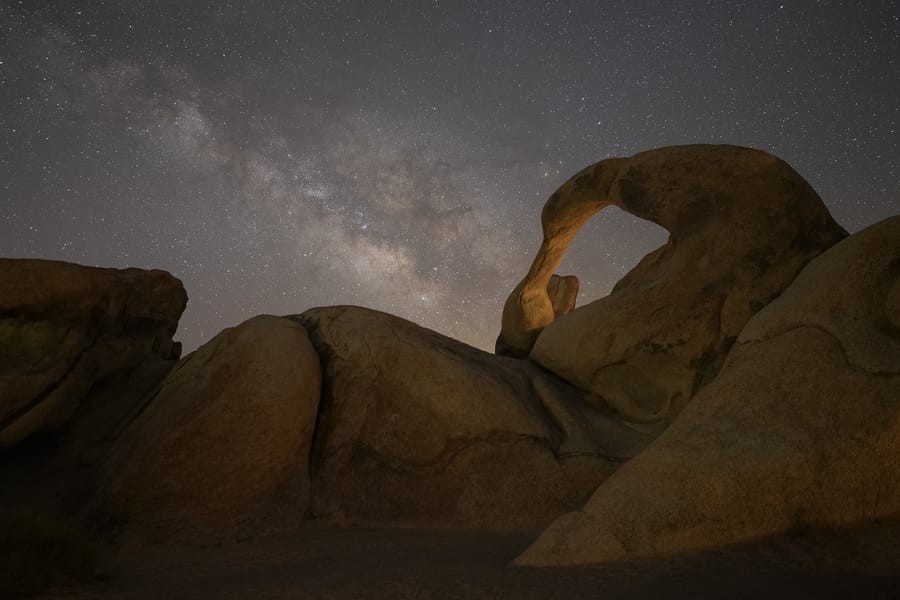
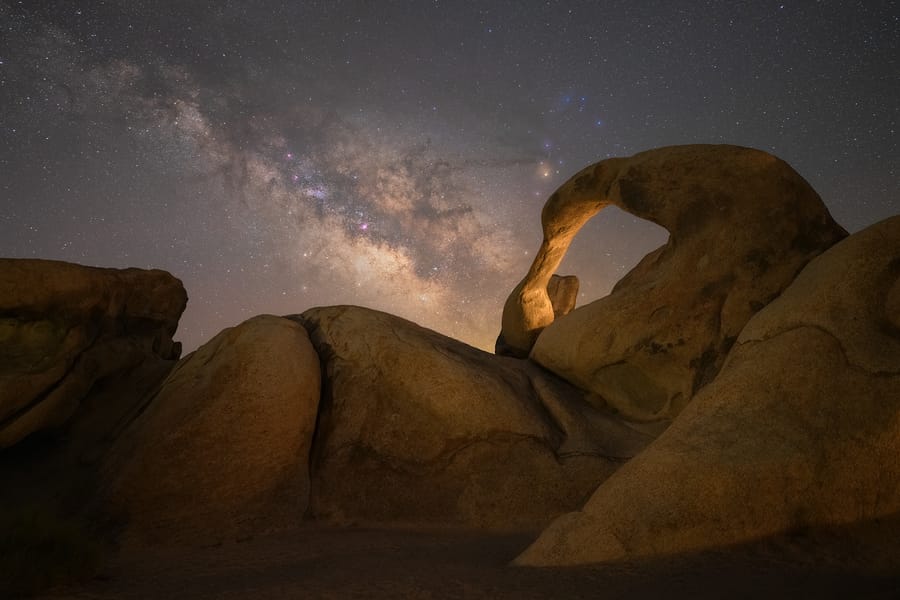
6.1. Start to finish – Mobius arch
Complete start-to-finish post-processing tutorial using stacking and all the advanced post-processing techniques explained during the course.
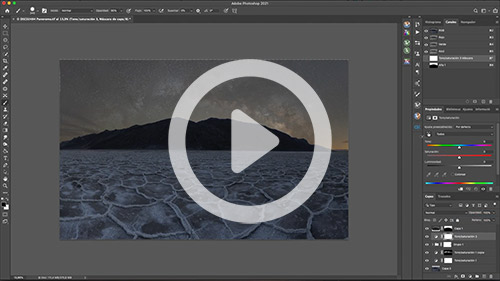
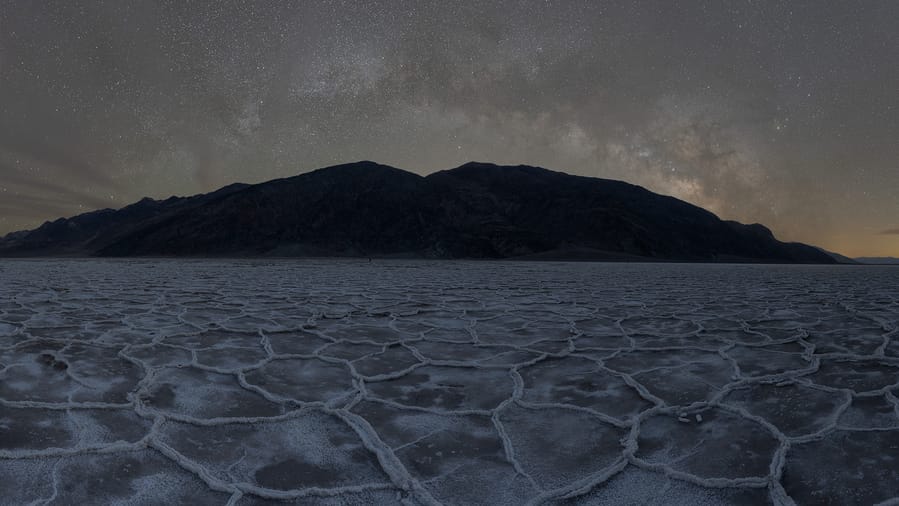
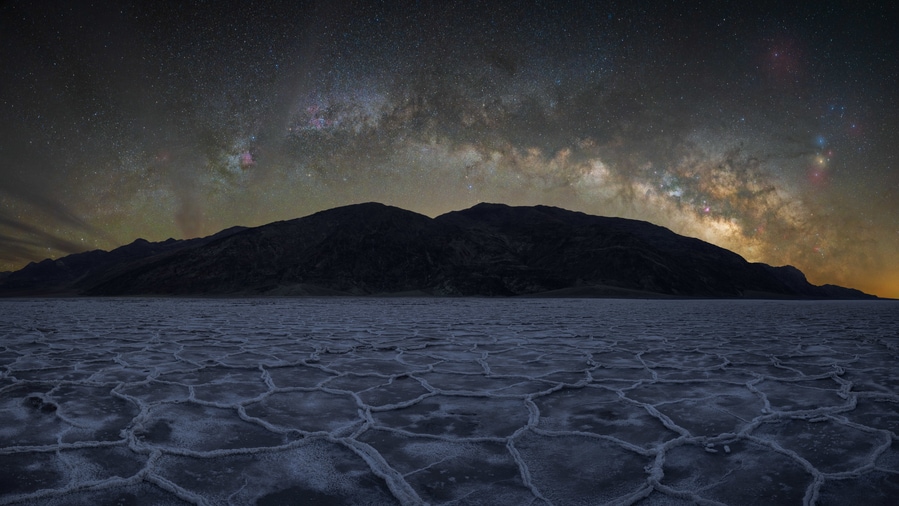
6.2. Start to finish – Badwater basin
Complete start-to-finish post-processing tutorial of a Milky Way panorama with a blue-hour blend and all the advanced post-processing techniques explained during the course.
7.1. Conclusion
Some final pieces of advice to help you grasp all the advanced techniques explained in the course more quickly and get ready for the ultimate goal: Tracking!
CAPTURE THE MILKY WAY PRO TRACKING MODULE
1.1. Introduction
An introduction to the Pro Tracking course. Spoiler alert: this module is going to change your Milky Way photography forever 😉
1.2. Foundations of tracking
Before getting started, it’s important to know all the basics of tracking. Learn what tracking is, what a star-tracker is, and the pros and cons of tracking.
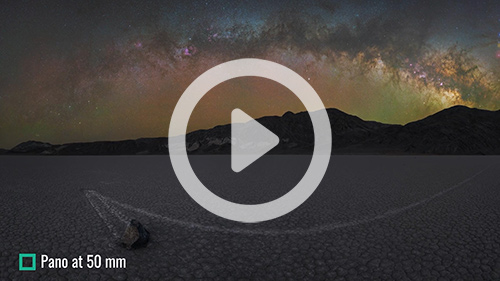
2.1. Tracking camera gear – best lenses and focal lengths
We start talking about the optimal camera gear for Milky Way tracking and the best lenses and focal lengths that you can use. I’ll show you different real-life examples and my recommendations.
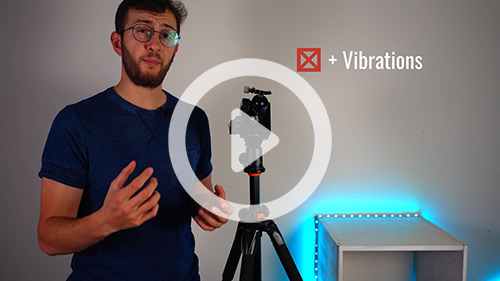
2.2. TRACKING CAMERA GEAR – star-trackers
Which tracker should I use? We’ll dive into the different types of trackers on the market, their pros and cons, and my recommendations according to your budget and goals.
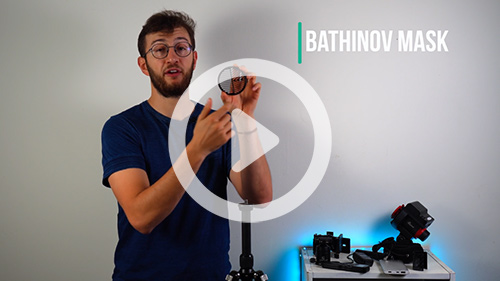
2.3. Other tracking accessories
You’ll learn all the must-have and recommended accessories for Milky Way tracking. This will make things much easier in the field.
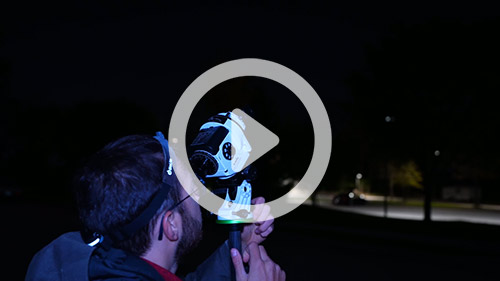
3.1. Polar alignment basics
The most important step and #1 error when tracking. Learn all the foundations of a good polar alignment to capture pinpoint stars.
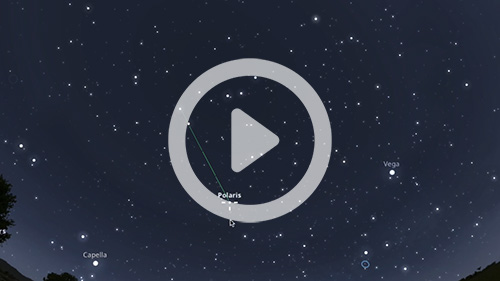
3.2. Polar alignment – finding north
Learn how to find Polaris in the northern skies with some easy tips.
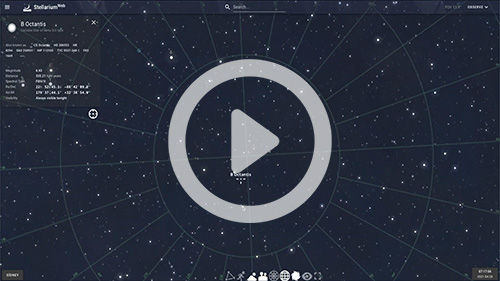
3.3. Polar alignment – finding south
Learn how to find Sigma Octantis (“Australis Polaris”) in the southern skies using the best reference.
3.4. Polar alignment – best apps
Finding the North and South Celestial Poles is easier than ever with these apps. I’ll show you my favorite apps to polar align and how to use them.
3.5. How to Polar align – Step by step
The complete step-by-step polar alignment tutorial that I’d have loved to see when I was starting. I go down from the basic steps to the smallest details so you won’t have any problems in the field.
3.6. Polar Alignment tips
Avoid all the trial and error with the best polar alignment tips, like how to correct in the middle of a shooting, or how to polar align inside a cave without using Polaris/Octans.
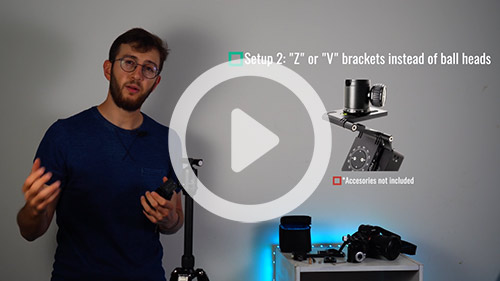
4.1. MSM Rotator review & setup guide
Learn all the pros and cons of the MSM rotator, when you should use it, what the limits are…and most importantly, a complete, step-by-step guide on how to use it in the field.
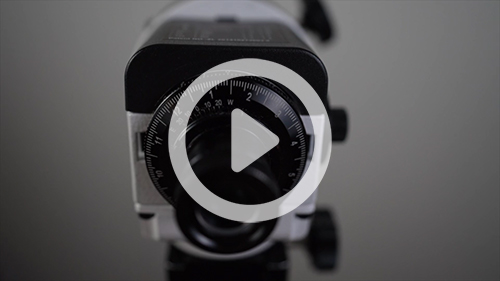
4.2. Sky-Watcher Star Adventurer Pro Review & Setup guide
Full review of and complete setup tutorial for one of the most popular trackers in the market: the Sky-Watcher Star Adventurer Pro.
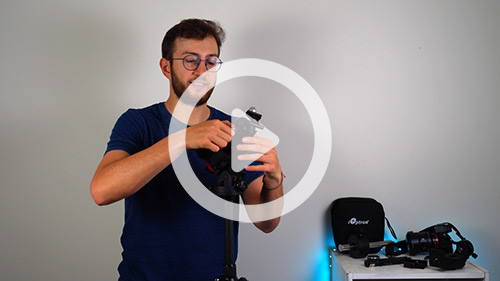
4.3. ioptron skyguider pro REVIEW & SETUP GUIDE
Full review of and complete setup tutorial for one of the most popular trackers in the market: the iOptron SkyGuider Pro.
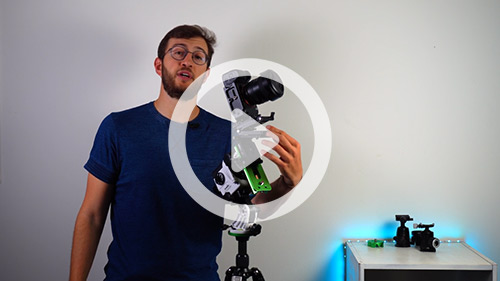
4.4. Tracked Panoramas
The ultimate next level when tracking the Milky Way. I’ll show you the best gear, techniques, and recommendations to capture breathtaking tracked panoramas and mosaics of the Milky Way!
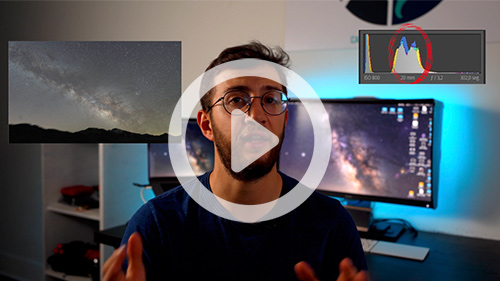
5.1. tracked camera settings
Camera settings change completely when you track the Milky Way. Learning this can require a lot of time and experience, but In this tutorial, you’ll find a guide that will shorten the process to just 40 minutes.
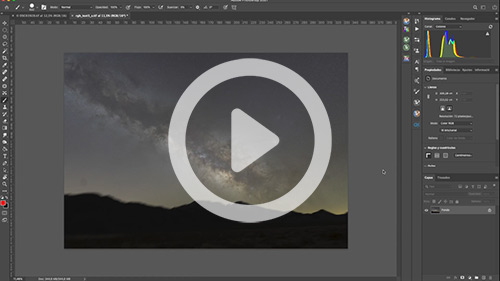
6.1. Pro post-processing – Advanced star reduction
Learn how professional astrophotographers reduce the stars. The details in your Milky Way images will stand out and you won’t find any artifacts in your shots.
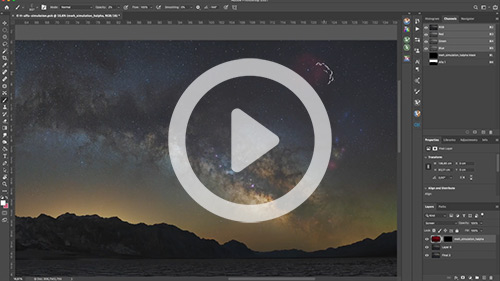
6.2. Pro post-processing – h-alpha simulation
Extract/simulate the H-alpha colors in your nebulae even with a non-astro-modified camera. You’ll learn how to enhance the most beautiful regions in the Milky Way.
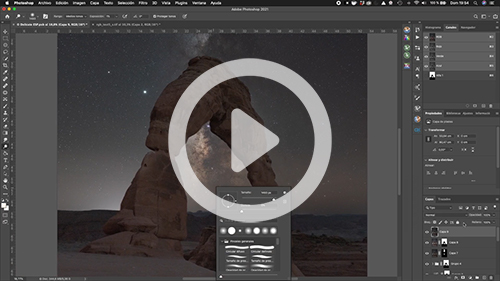
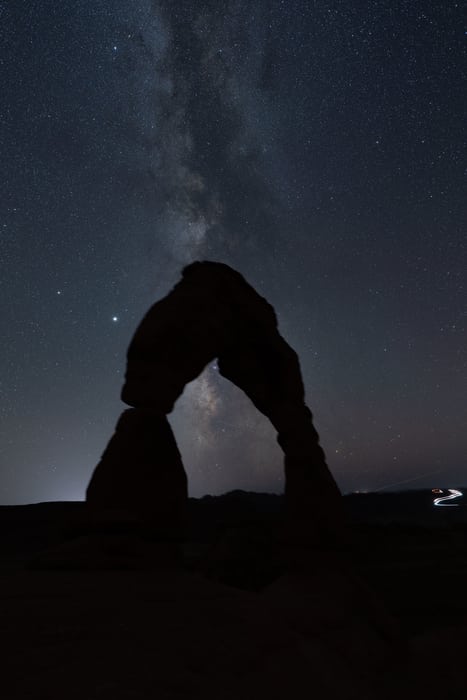
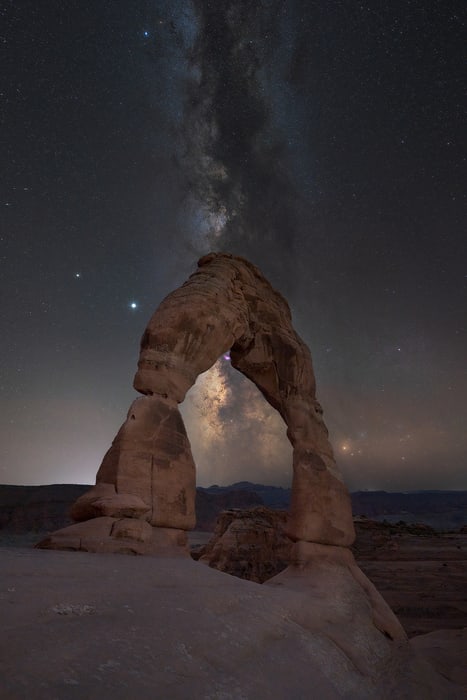
6.3. Start-to-finish tutorial – Delicate arch
Complete start-to-finish post-processing tutorial of a complex tracked image with a long exposure blend, and all the pro post-processing techniques explained during the course. Learn how to blend with an element cutting across the horizon.
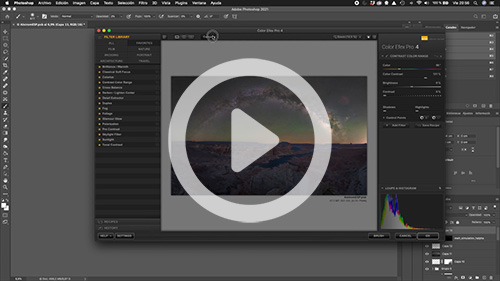
6.4. Start-to-finish tutorial – Alstrom Point
The most complex start-to-finish tutorial of the entire course. We process a Milky Way tracked panorama captured with a longer focal length and a blue-hour blend. You’ll learn how to solve the most challenging issues, the ultimate post-processing techniques, and a new method to enhance the airglow in your images.
7.1. Conclusion
Some final recommendations that will allow you to capture the best possible tracked images of the Milky Way and prepare for the challenges that you’ll find along the way.
CAPTURE THE MILKY WAY BASIC MODULE

1.1. Introduction
A brief introduction to the basic module where we outline the content of the course and the best way to get started.

2.1. when to photograph the Milky Way
The first and most important step when planning. We’ll discuss the best times of year and night, the position of the Milky Way in the sky, moon phases, calendars, and more.

2.2. Where to photograph the Milky Way
Find the best locations both when traveling and near you – light pollution maps, altitude, best weather apps, Bortle scale, etc.

2.3. Milky Way calendars
Learn how to use and read a Milky Way Calendar to plan your photos at a glance.

2.4. Stellarium
Learn the easiest way to use Stellarium, one of the most powerful tools to plan your Milky Way images.

2.5. Google Earth Pro
All the tips and tricks to use Google Earth Pro for finding the best locations and compositions to capture the Milky Way

2.6. Photopills
A step-by-step guide to using Photopills for Milky Way planning. We’ll look at all the tools and hidden tricks in the app.

2.7. Planit Pro
Everything you need to know how to use the Milky Way planner app Planit Pro, including all of its functions and most advanced features.

2.8. 4-Step planning workflow
I describe my complete Milky Way planning workflow in 4 easy steps and show you two real cases from start to finish.

3.1. Camera gear
The best camera gear to shoot the Milky Way – cameras, lenses, tripods, headlamps, and more. My recommendations for the best possible gear according to your goals and budget.

4.1. Focus
Learn how to focus like an expert with a real-life example and avoid making the #1 mistake in Milky Way photography ever again.

4.2. Camera settings
The settings you should use in your camera to get the best results. We cover everything, from the key exposure settings to ALL the adjustments that you should set in your camera.

4.3. The histogram
Learn what the histogram should look like in your photos and how to read the histogram in the field with many examples.

5.1. Composition
A complete masterclass in Milky Way composition to learn the best rules and elements that you can use to capture images with impact.

6.1. Introduction to Lightroom
All the basics to get started using Lightroom to edit your Milky Way photos.

6.2. Introduction to Photoshop
A complete beginner’s guide to using Photoshop for Milky Way photography. Basic workflow, adjustments, tools, best settings…Photoshop won’t be daunting anymore!

6.3. Denoise AI Noise Reduction
A full tutorial on how to use the best noise reduction software on the market: Denoise AI.

6.4. Nik Collection
Learn how to make the most of this powerful editing tool and which filters work best in Milky Way images.

6.5. Edit and Post-processing – Lightroom BASIC
In this video tutorial, I will show you my basic workflow for editing images of the Milky Way in Lightroom.

6.6. Edit and Post-processing – Lightroom ADVANCED
Learn the most advanced tools in Lightroom to edit your Milky Way images through a real-life example – Radial & Gradient filters, color and luminosity masking, color separation, etc.

6.7. start-to-finish using photoshop
Learn how to apply some basic and effective tools and adjustments in Photoshop to finish your Milky Way images.

6.8. Start-to-finish
A start-to-finish tutorial where I show my complete basic workflow with all the steps, tricks, and recommendations.

7.1. Conclusion
Some final recommendations that will allow you to have the best possible foundation in Milky Way photography and know the best way to step up your skills before jumping into the advanced module.
CAPTURE THE MILKY WAY ADVANCED MODULE

1.1. Introduction
An introduction to the advanced module where we describe the content of the course and the best way to get the most out of it.

2.1. Foundations of stacking
Stacking is one of the easiest and most powerful techniques to capture less noise and get higher-quality images. You’ll learn what stacking is, how to do it, and why you should stack your images.

2.2. Stacking – File preparation
The file preparation is the foundation of a successful stacking. Learn all the adjustments and export details that you should apply when you are preparing your stacking.

2.3. Stacking in Photoshop
Stacking in Photoshop is possible if you follow all the steps and techniques described in this tutorial.

2.4. Stacking in Starry landscape stacker (Mac)
The best software to stack images in Mac. This is a full tutorial on how to use it and some recommendations to get the best results.

2.5. Stacking in Sequator (Windows)
The best software to stack images in Windows. Learn how to download it, use it, and get clean stacked images in seconds.

3.1. Milky Way panoramas – types and technique
Everything you need to take panoramas – types of Milky Way panoramas, essential camera gear, a step-by-step tutorial of the best technique, and some tips to capture perfect panoramas.

3.2. stitching in Lightroom
We’ll cover different pieces of software to do the stitching process. The first is Lightroom, where you’ll see the easiest process to stitch your panorama.

3.3. stitching in photoshop
A guide to stitching Milky Way panoramas using Photoshop.

3.4. stitching in Ptgui Pro
Full tutorial on the most advanced panorama-stitching software on the market. Learn the basics and the most advanced tools in PTGui Pro.

3.5. Comparison: Which software should I use?
We discuss all the pros and cons of using Lightroom, Photoshop, and PTgui Pro for stitching Milky Way panoramas. We analyze a real-life example and I give my recommendations according to your budget and goals.

3.6. Bonus: Milky Way vertical panoramas
Bonus video that shows how to capture and edit Milky Way vertical panoramas.

4.1. Blendings in Milky Way photography – types
Blendings are crucial for getting the highest-quality photos of the Milky Way. Learn the different types of blendings for the foreground and for the sky.

4.2. Blending post-processing: 1st Semiautomatic selections
There are many ways to make selections, and in this video, we will focus on the first type, also known as semi-automatic selections.

4.3. Blending post-processing: 2nd Luminance and color selections
Learn how to do blendings in complex scenarios, such as shots with trees and branches on the horizon, using luminance and color selections.

4.4. Blending post-processing: 3rd Final blending of the images
Create a perfect blend of two images that looks completely merged and uniform with a series of steps and useful tricks in Photoshop.

5.1. Advanced post-processing – Star reduction
Reduce the size of the stars and get cleaner images with more details in your Milky Way with the best Photoshop star reduction techniques.

5.2. Advanced post-processing – Milky Way structure
Learn the most advanced techniques to extract and highlight the entire structure of the Milky Way without artifacts or noise.

5.3. Advanced post-processing – Dodge & Burn
Using this Dodge & Burn technique will generate more volume and interesting elements in your Milky Way images.

5.4. Advanced post-processing – Natural colors of the Milky Way
I show you the best technique to extract all the natural colors of the Milky Way and the night sky. You’ll extract and enhance all the colors of the nebulae, the stars, the airglow…in a couple of easy clicks!

6.1. Start to finish – Mobius arch
Complete start-to-finish post-processing tutorial using stacking and all the advanced post-processing techniques explained during the course.

6.2. Start to finish – Badwater basin
Complete start-to-finish post-processing tutorial of a Milky Way panorama with a blue-hour blend and all the advanced post-processing techniques explained during the course.

7.1. Conclusion
Some final pieces of advice to help you grasp all the advanced techniques explained in the course more quickly and get ready for the ultimate goal: Tracking!
CAPTURE THE MILKY WAY PRO TRACKING MODULE

1.1. Introduction
An introduction to the Pro Tracking course. Spoiler alert: this module is going to change your Milky Way photography forever 😉

1.2. Foundations of tracking
Before getting started, it’s important to know all the basics of tracking. Learn what tracking is, what a star-tracker is, and the pros and cons of tracking.

2.1. Tracking camera gear – best lenses and focal lengths
We start talking about the optimal camera gear for Milky Way tracking and the best lenses and focal lengths that you can use. I’ll show you different real-life examples and my recommendations.

2.2. TRACKING CAMERA GEAR – star-trackers
Which tracker should I use? We’ll dive into the different types of trackers on the market, their pros and cons, and my recommendations according to your budget and goals.

2.3. Other tracking accessories
You’ll learn all the must-have and recommended accessories for Milky Way tracking. This will make things much easier in the field.

3.1. Polar alignment basics
The most important step and #1 error when tracking. Learn all the foundations of a good polar alignment to capture pinpoint stars.

3.2. Polar alignment – finding north
Learn how to find Polaris in the northern skies with some easy tips.

3.3. Polar alignment – finding south
Learn how to find Sigma Octantis (“Australis Polaris”) in the southern skies using the best reference.

3.4. Polar alignment – best apps
Finding the North and South Celestial Poles is easier than ever with these apps. I’ll show you my favorite apps to polar align and how to use them.

3.5. How to Polar align – Step by step
The complete step-by-step polar alignment tutorial that I’d have loved to see when I was starting. I go down from the basic steps to the smallest details so you won’t have any problems in the field.

3.6. Polar Alignment tips
Avoid all the trial and error with the best polar alignment tips, like how to correct in the middle of a shooting, or how to polar align inside a cave without using Polaris/Octans.

4.1. MSM Rotator review & setup guide
Learn all the pros and cons of the MSM rotator, when you should use it, what the limits are…and most importantly, a complete, step-by-step guide on how to use it in the field.

4.2. Sky-Watcher Star Adventurer Pro Review & Setup guide
Full review of and complete setup tutorial for one of the most popular trackers in the market: the Sky-Watcher Star Adventurer Pro.

4.3. ioptron skyguider pro REVIEW & SETUP GUIDE
Full review of and complete setup tutorial for one of the most popular trackers in the market: the iOptron SkyGuider Pro.

4.4. Tracked Panoramas
The ultimate next level when tracking the Milky Way. I’ll show you the best gear, techniques, and recommendations to capture breathtaking tracked panoramas and mosaics of the Milky Way!

5.1. tracked camera settings
Camera settings change completely when you track the Milky Way. Learning this can require a lot of time and experience, but In this tutorial, you’ll find a guide that will shorten the process to just 40 minutes.

6.1. Pro post-processing – Advanced star reduction
Learn how professional astrophotographers reduce the stars. The details in your Milky Way images will stand out and you won’t find any artifacts in your shots.

6.2. Pro post-processing – h-alpha simulation
Extract/simulate the H-alpha colors in your nebulae even with a non-astro-modified camera. You’ll learn how to enhance the most beautiful regions in the Milky Way.

6.3. Start-to-finish tutorial – Delicate arch
Complete start-to-finish post-processing tutorial of a complex tracked image with a long exposure blend, and all the pro post-processing techniques explained during the course. Learn how to blend with an element cutting across the horizon.

6.4. Start-to-finish tutorial – Alstrom Point
The most complex start-to-finish tutorial of the entire course. We process a Milky Way tracked panorama captured with a longer focal length and a blue-hour blend. You’ll learn how to solve the most challenging issues, the ultimate post-processing techniques, and a new method to enhance the airglow in your images.

7.1. Conclusion
Some final recommendations that will allow you to capture the best possible tracked images of the Milky Way and prepare for the challenges that you’ll find along the way.
EXTRAS
Actualizaciones gratuitas
La fotografía de la Vía Láctea cambia constantemente. Cada pocos meses hay nuevos equipos, software y técnicas de edición. El contenido de este curso se actualiza constantemente y tu siempre tendrás acceso al nuevo material.
Descuento en tours fotográficos
Estaré encantado de acompañarte a lo largo de todo el aprendizaje, incluso en persona. Perseguir y fotografiar la Vía Láctea con un grupo de fotógrafos a los que les apasiona lo mismo es toda una experiencia, por lo que recibirás un descuento equivalente al valor de este curso para cualquiera de nuestros Tour Fotográficos. (*Válido para tours fotográficos y talleres de más de 1000€)
... MÁS COSAS QUE HACEN ÚNICO A ESTE CURSO
COMPLETO
Es el único curso online de la Vía Láctea donde puedes aprenderlo todo, desde los conceptos básicos para fotografiar la Vía Láctea o cómo empezar a usar Photoshop hasta las últimas técnicas de astrofotografía.
ESTRUCTURADO
Todo está organizado para que puedas seguir esta guía de forma sencilla, paso a paso e independientemente de tu nivel. No tendrás que perder cientos de horas buscando vídeos de YouTube con información dispersa e incompleta.
PROBADO
Si te dejas guiar, la calidad de tus imágenes de la Vía Láctea crecerá exponencialmente. He estado años aprendiendo a base de prueba y error para desarrollar las mejores técnicas y una edición fácil de aplicar que funcione con cualquier tipo de fotografía de la Vía Láctea.
A TU RITMO
Tendrás acceso ilimitado a todos los módulos y podrás ver los vídeos a tu ritmo y tantas veces como necesites. Olvídate de pagar una suscripción mensual y disfruta del acceso de por vida y actualizaciones gratuitas.
VÍDEOS EN ALTA RESOLUCIÓN
Los vídeos están grabados en 4K para que puedas disfrutar de la mejor calidad y verlos desde cualquier dispositivo: ordenador, tabletas, smartphones, etc.
RESPALDADO POR UNA GRAN COMUNIDAD
El contenido de este curso ha sidodiseñado para satisfacer las necesidades y demandas de una comunidad muy activa de fotógrafos de la Vía Láctea. Para enseñar es importante escuchar primero, y he estado ayudando a otros fotógrafos con sus fotografías de la Vía Láctea durante años.
¿QUIÉN HAY DETRÁS DE ESTE CURSO PARA FOTOGRAFIAR LA VÍA LÁCTEA?
Este curso fue creado y está dirigido por Dan Zafra, un astrofotógrafo de paisaje profesional y fundador de Capture the Atlas, una plataforma de fotografía líder y el blog número 1 en fotografía de la Vía Láctea.
La misión de Dan es ayudar a otros a descubrir, aprender y dominar la fotografía de la Vía Láctea. Ha pasado años persiguiendo esta pasión, tanto online a través de artículos, guías y libros electrónicos, como en sus tours fotográficos.
También es el creador de los populares “calendarios de Vía Láctea”, que ayudan cada año a más de 40.000 fotógrafos a planificar sus tomas alrededor de todo el mundo y el creador del “Milky Way Photographer of the Year”, una galardonada lista anual que inspira a cientos de miles de personas a salir y fotografiar la Vía Láctea.
Probablemente hayas visto a Dan en …


¿LISTO PARA LLEVAR TU FOTOGRAFÍA DE LA VÍA LÁCTEA A UNA NUEVA DIMENSIÓN?
Captura la Vía Láctea

- Los 3 módulos del programa Captura la Vía Láctea
- 62 lecciones de vídeo y más de 23 horas de contenido
- +80 archivos RAW y PSD
- Soporte ilimitado y actualizaciones gratuitas
- Acceso a la comunidad privada
- Garantía de devolución de 15 días
- All Capture the Milky Way training
- 62 video lessons and 23+ hours of content
- 80+ RAW & PSD files
- Unlimited support & free updates
- Access to a private community
- 15 day money-back guarantee
249€ 199€
La oferta de lanzamiento finaliza en:
La oferta finaliza en:
Pago seguro


GARANTÍA DE SATISFACCIÓN 100%
Crear este curso me ha llevado mucho tiempo y esfuerzo, por lo que estoy 100% seguro de que encontrarás un valor real en él, así como que te ayudará a aprender y a mejorar en la fotografía de la Vía Láctea.
Sin embargo, si por cualquier motivo empiezas el curso y crees que no es el adecuado para ti, ponte en contacto con nosotros durante los primeros 15 días a partir de la fecha de compra y te reembolsaremos el importe ¡sin hacer preguntas!
NUESTROS FELICES ALUMNOS
He tenido la oportunidad de trabajar y ayudar a innumerables fotógrafos en los últimos años. Compartir y enseñar fotografía es mi pasión, y me encanta hacer esto tanto online como in situ.





¿Es este curso para mí?
Si te estás preguntando si este curso es el adecuado para ti, te aseguro que en él encontrarás una fuente incalculable de conocimiento independientemente de tu experiencia y habilidades:
Si estás empezando...
Este curso asentará las bases necesarias para fotografiar la Vía Láctea con éxito, con un temario ordenado de forma lógica para que sea fácil de seguir y en el que se enseña todo lo imprescindible, desde la configuración básica de la cámara hasta empezar con un programa como Lightroom o Photoshop.
Según avances en tu aprendizaje y prácticas, obtendrás todas las herramientas para seguir expandiendo tus conocimientos de fotografía de la Vía Láctea.
Si ya tienes algún conocimiento y experiencia...
Estás a punto de experimentar un cambio revolucionario en tu fotografía de la Vía Láctea. Una vez empieces a implementar técnicas avanzadas, como stackings, blendings y, especialmente, seguimiento de estrellas, la calidad de tus imágenes aumentará exponencialmente.
¡Las mejores técnicas y edición avanzada te están esperando!
Si eres profesional con experiencia...
En este programa aprenderás muchas técnicas de disparo y edición que llevarán tus fotografías de la Vía Láctea al siguiente nivel.
Panorámicas de múltiples filas del arco de la Vía Láctea con seguimiento de estrellas combinado con blendings de horas azules y distancias focales, software profesional de astrofotografía para reducir estrellas sin artefactos y técnicas de primer nivel para crear simulaciones H-Alfa en las nebulosas de la Vía Láctea… ¡El cielo es el límite!
¡DALE VIDA A TUS FOTOGRAFÍAS DE LA VÍA LÁCTEA!
En resumen, esto es todo lo que encontrarás en el curso
- El entrenamiento completo de Captura la Vía Láctea
Me ha llevado años y bastante dinero aprender, perfeccionar y hacer este curso de tres módulos con más de 60 lecciones y 23 horas de contenido en un formato que sea fácil de seguir y que dé resultados.
Se incluyen 6 tutoriales completos de edición de principio a fin, que normalmente cuestan 50€ cuando se venden por separado.
(Valor de 600 €)
- Material de práctica
Además de una amplia explicación y ejemplos, este curso incluye archivos RAW y PSD para que puedas empezar a practicar tan pronto como te inscribas.
Hay más de 80 archivos RAW, por lo que podrás editar imágenes individuales, stackings, blendings, imágenes con seguimiento de estrellas, panorámicas trackeadas y panorámicas con seguimiento de estrellas de varias filas.
(Valor de 120 €)
- Soporte ilimitado
¡Hazme preguntas, pide feedback y haré todo lo posible para ayudarte a mejorar con tu fotografía de la Vía Láctea!
Ya nodoy tutorias privadas, pero la última que dí la cobré a 70 € la hora. Inscríbete en este curso y siempre que necesites ayuda, estaré aquí.
(Valor de 200 €)
- Actualizaciones gratuitas
Este curso incluye actualizaciones gratuitas ilimitadas. A diferencia de otros cursos, como las membresías, que requieren de pagos mensuales si se quiere acceder a actualizaciones, aquí se incluirán nuevas lecciones, vídeos de edición de principio a fin y archivos RAW para que puedas seguir practicando.
(Valor de 150 €)
- Acceso a una comunidad privada
Comparte tu trabajo, recibe comentarios constructivos, obtén consejos, conecta y queda para disparar junto a otros fotógrafos… Crea relaciones y conexiones dentro de una comunidad privada de fotógrafos de ideas afines que comparten la misma pasión.
(Valor incalculable)
Valor total de la formación Captura la Vía Láctea: 1.070 €
Precio total de Captura la Vía Láctea: Solo 249 €
Oferta de lanzamiento:
249€ 199€
“Como fotógrafo autodidacta de la Vía Láctea, conozco el tiempo, el esfuerzo y la frustración que implica captar imágenes de calidad de nuestra galaxia.
Este curso completo resume cientos de horas de investigación, fotografía in situ y experimentación en la edición convertidas en un flujo de trabajo fácil de seguir pero efectivo que puede aplicarse tanto en el campo como frente al ordenador.
Espero poder ayudarte a llevar tu fotografía de la Vía Láctea a nuevas alturas… El cielo es el límite”.

DAN ZAFRA
PREGUNTAS FRECUENTES
Estas son algunas de las preguntas que he recivido acerca del curso:
¿CUÁL ES EL FORMATO DEL CURSO?
Una vez te unas al curso podrás acceder a todos los vídeos y archivos descargables desde nuestra plataforma online. Esta plataforma ha sido diseñada específicamente para este curso, es segura y su navegación es muy intuitiva. Solo necesitas un dispositivo con pantalla y conexión a Internet.
¿SE DEBE HACER UN PAGO ÚNICO O SE TRATA DE UNA SUSCRIPCIÓN MENSUAL?
Este curso online es de pago único. Tras hacer este pago tendrás acceso de por vida al contenido y podrás ver todos los vídeos y tutoriales a tu ritmo.
¿EL CURSO INCLUYE SOPORTE?
Este curso incluye soporte ilimitado. No importa lo que necesites o cuándo pidas ayuda, estaré ahí.
¿QUÉ SOFTWARE SE UTILIZA PARA LA EDICIÓN?
Los principales software de edición empleados en el curso son Lightroom y Photoshop.
También usaremos otros programas para algunas funciones específicas, como DeNoise AI, PTGui Pro o Nik Collection. En el curso encontrarás un vídeo específico para cada programa donde se explica cómo sacarle todo el partido en caso de que nunca antes lo haya usado.
¿PUEDO SEGUIR ESTOS TUTORIALES USANDO LUMINAR O CAPTURE ONE?
Puedes usar Luminar, Capture One u otros programas de edición en lugar de Lightroom para la preparación de archivos y las ediciones básicas. Los conceptos serán los mismos y podrás aplicar la misma metodología.
Una vez sumergidos en la edición avanzada, la mayor parte del trabajo se realizará en Photoshop.
¿NECESITO SABER PHOTOSHOP PARA SEGUIR LOS TUTORIALES?
Para nada. Cuanto más sepas de Photoshop, más rápido avanzarás en el curso, pero si nunca antes lo has usado, en el módulo básico te guiaré paso a paso.
Empezar a usar Photoshop puede sonar complicado, pero a través de los diferentes módulos te será muy fácil.
¿QUÉ PASA SI NO ESTOY SATISFECHO CON EL CURSO?
Si por alguna razón no estás satisfecho con el curso, tienes una garantía de devolución de 15 días.
Ponte en contacto con nosotros durante este período y realizaremos el reembolso. Sin letra pequeña y sin preguntas.
¿Tienes alguna otra pregunta?
Captura la Vía Láctea
249€ 199€
La oferta de lanzamiento finaliza en:

