An introduction to the advanced module where we describe the content of the course and the best way to get the most out of it.
2.1. Foundations of stacking
Stacking is one of the easiest and most powerful techniques to capture less noise and get higher-quality images. You’ll learn what stacking is, how to do it, and why you should stack your images.
2.2. Stacking - File preparation
The file preparation is the foundation of a successful stacking. Learn all the adjustments and export details that you should apply when you are preparing your stacking.
2.3. Stacking in Photoshop
Stacking in Photoshop is possible if you follow all the steps and techniques described in this tutorial.
2.4. Stacking in Starry landscape stacker (Mac)
The best software to stack images in Mac. This is a full tutorial on how to use it and some recommendations to get the best results.
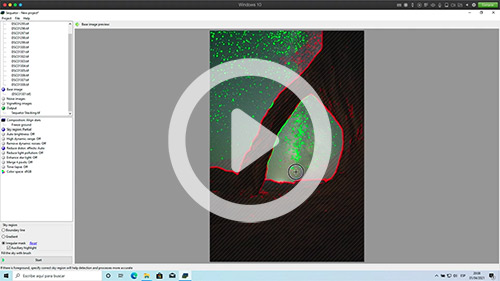
2.5. Stacking in Sequator (Windows)
The best software to stack images in Windows. Learn how to download it, use it, and get clean stacked images in seconds.
3.1. Milky Way panoramas - types and technique
Everything you need to take panoramas – types of Milky Way panoramas, essential camera gear, a step-by-step tutorial of the best technique, and some tips to capture perfect panoramas.
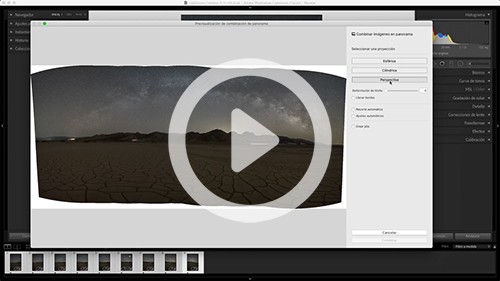
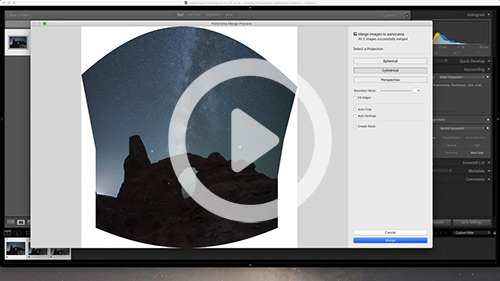
3.2. stitching in Lightroom
We’ll cover different pieces of software to do the stitching process. The first is Lightroom, where you’ll see the easiest process to stitch your panorama.
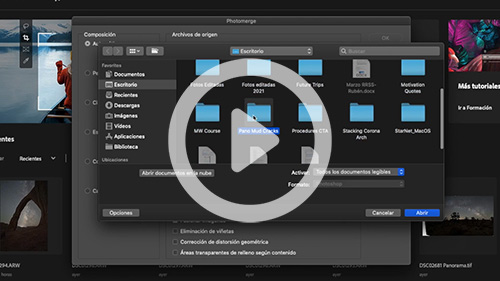
3.3. stitching in photoshop
A guide to stitching Milky Way panoramas using Photoshop.
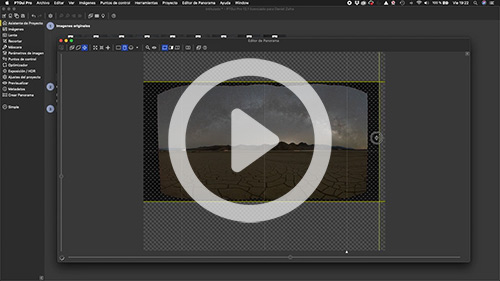
3.4. stitching in Ptgui Pro
Full tutorial on the most advanced panorama-stitching software on the market. Learn the basics and the most advanced tools in PTGui Pro.
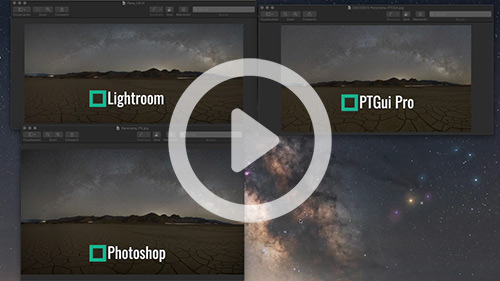
3.5. Comparison: Which software should I use?
We discuss all the pros and cons of using Lightroom, Photoshop, and PTgui Pro for stitching Milky Way panoramas. We analyze a real-life example and I give myrecommendations according to your budget and goals.
3.6. Bonus: Milky Way vertical panoramas
Bonus video that shows how to capture and edit Milky Way vertical panoramas.
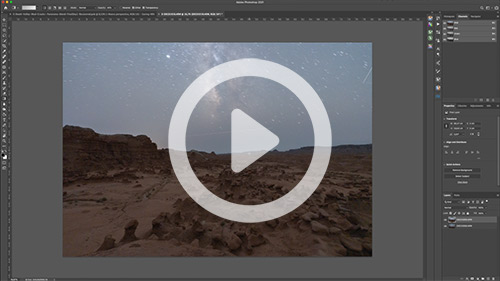
4.1. Blendings in Milky Way photography - types
Blendings are crucial for getting the highest-quality photos of the Milky Way. Learn the different types of blendings for the foreground and for the sky.
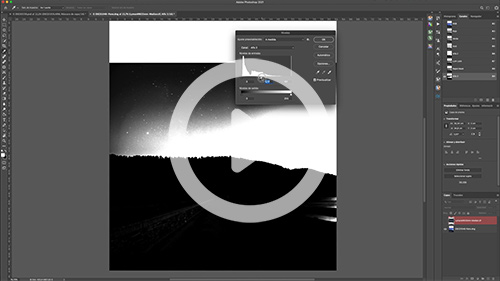
There are many ways to make selections, and in this video, we will focus on the first type, also known as semi-automatic selections.
4.3. Blending post-processing: 2nd Luminance and color selections
Learn how to do blendings in complex scenarios, such as shots with trees and branches on the horizon, using luminance and color selections.
4.4. Blending post-processing: 3rd Final blending of the images
Create a perfect blend of two images that looks completely merged and uniform with a series of steps and useful tricks in Photoshop.
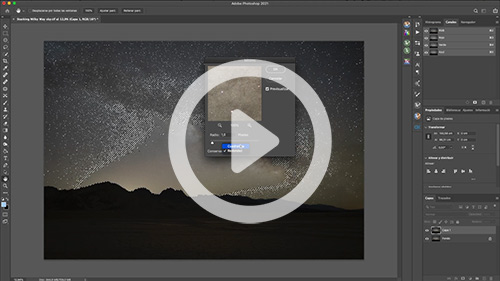
5.1. Advanced post-processing - Star reduction
Reduce the size of the stars and get cleaner images with more details in your Milky Way with the best Photoshop star reduction techniques.
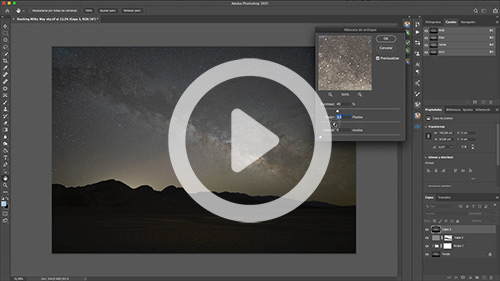
5.2. Advanced post-processing - Milky Way structure
Learn the most advanced techniques to extract and highlight the entire structure of the Milky Way without artifacts or noise.
5.3. Advanced post-processing - Dodge & Burn
Using this Dodge & Burn technique will generate more volume and interesting elements in your Milky Way images.
5.4. Advanced post-processing - Natural colors of the Milky Way
I show you the best technique to extract all thenatural colors of the Milky Way and the night sky. You’ll extract and enhance all the colors of the nebulae, the stars, the airglow…in a couple of easy clicks!
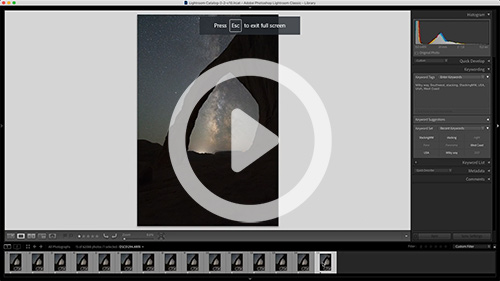
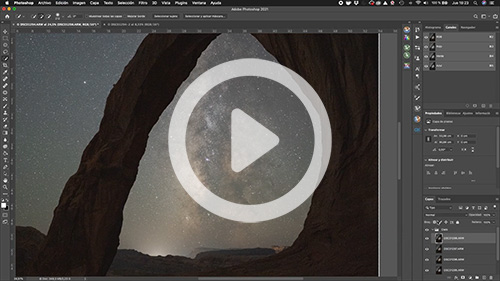
6.1. Start to finish - Mobius arch
Complete start-to-finish post-processing tutorial using stacking and all the advanced post-processing techniques explained during the course.
6.2. Start to finish - Badwater basin
Complete start-to-finish post-processing tutorial of a Milky Way panorama with a blue-hour blend and all the advanced post-processing techniques explained during the course.
7.1. Conclusion
Some final pieces of advice to help you grasp all the advanced techniques explained in the course more quickly and get ready for the ultimate goal: Tracking!