


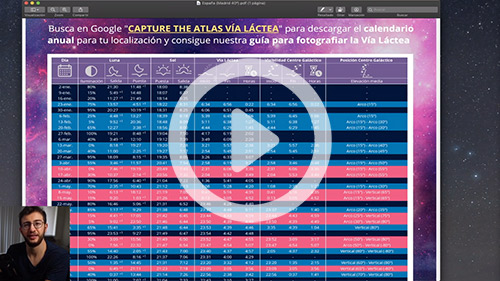
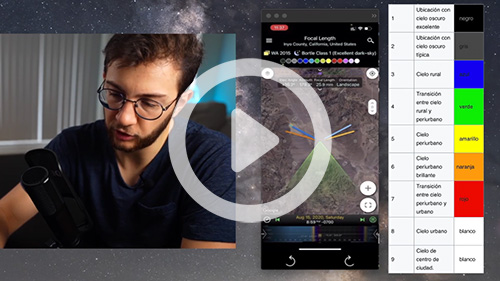
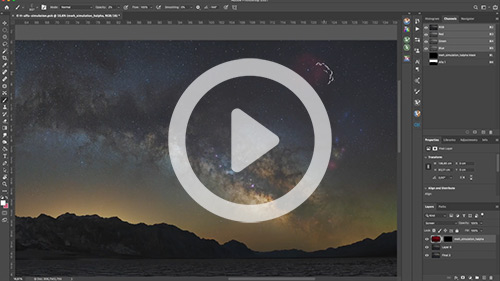
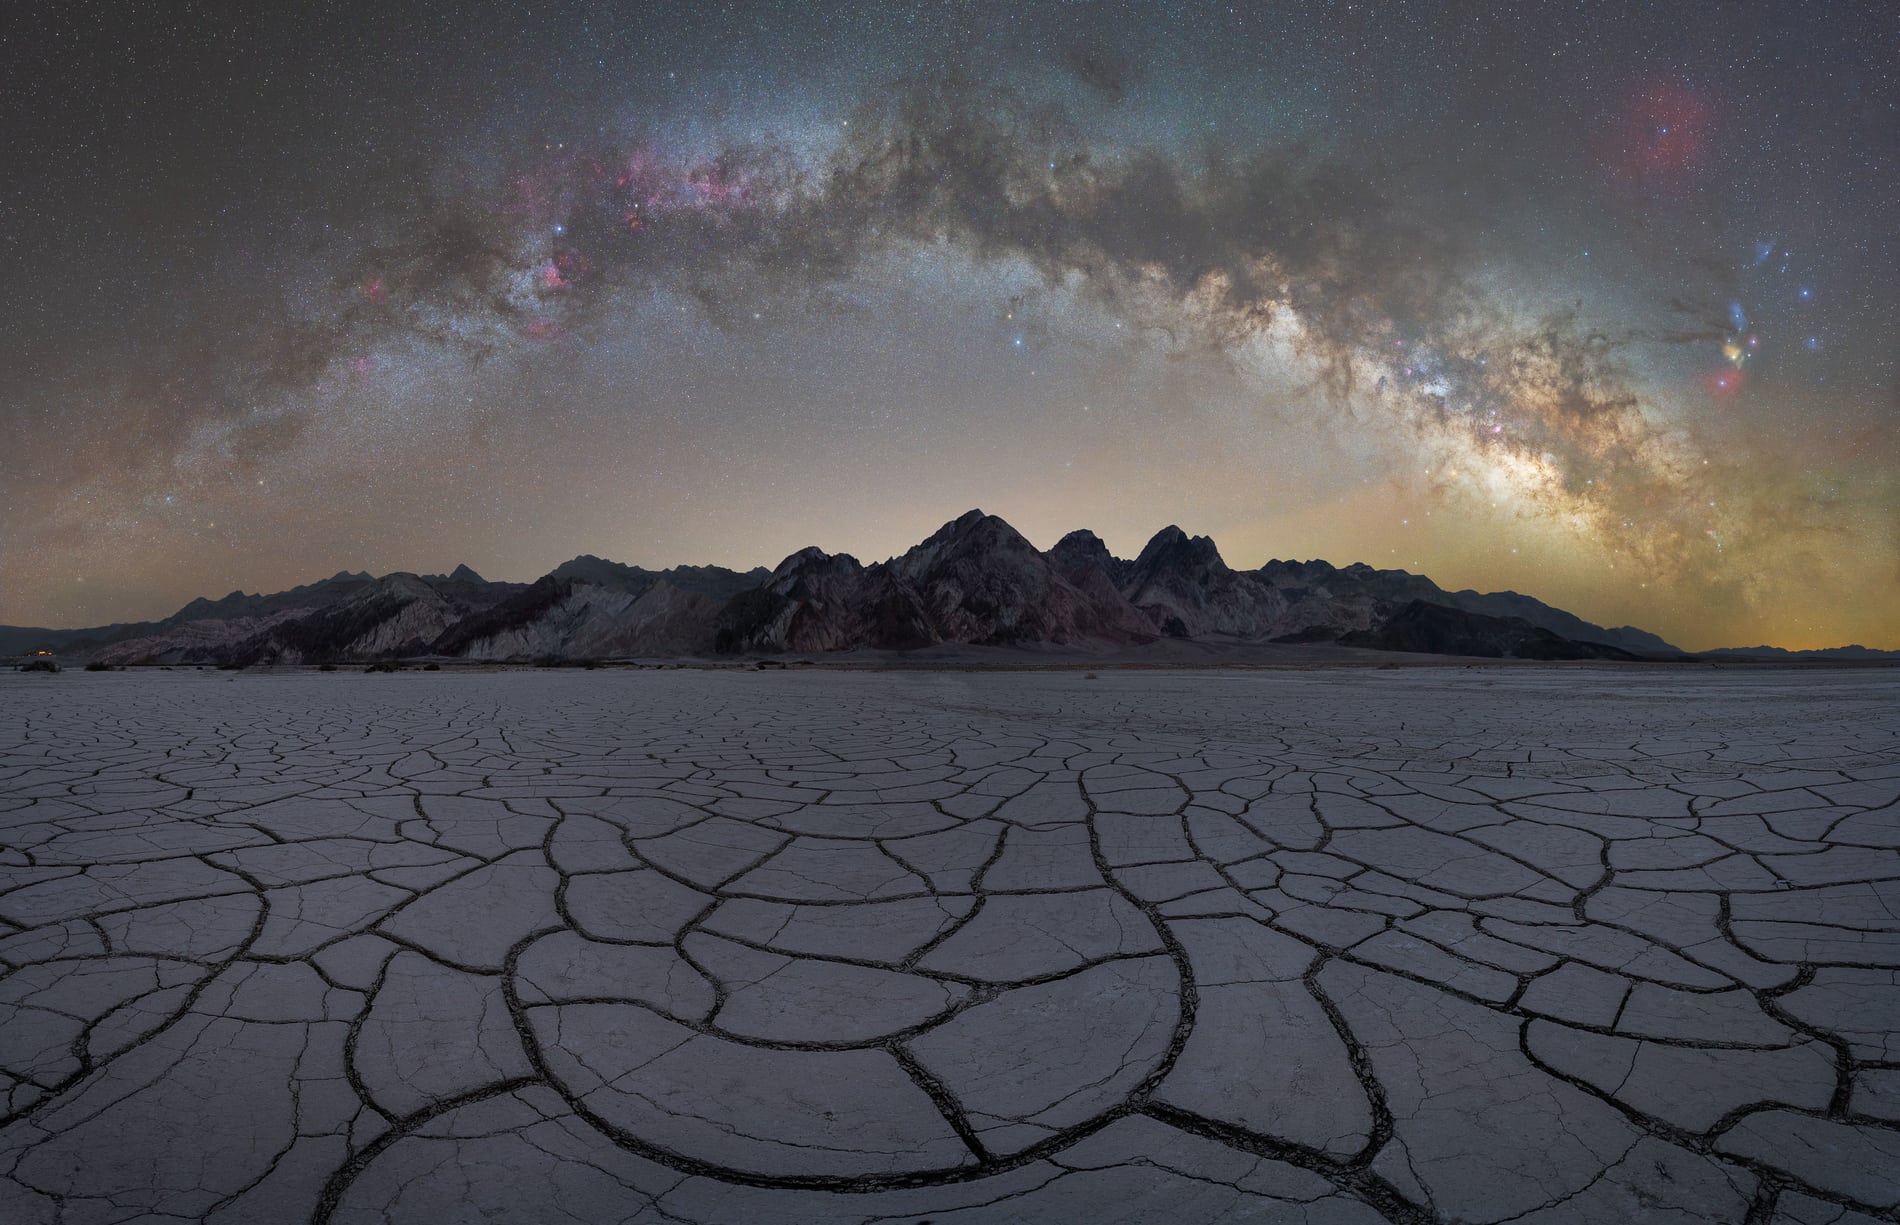
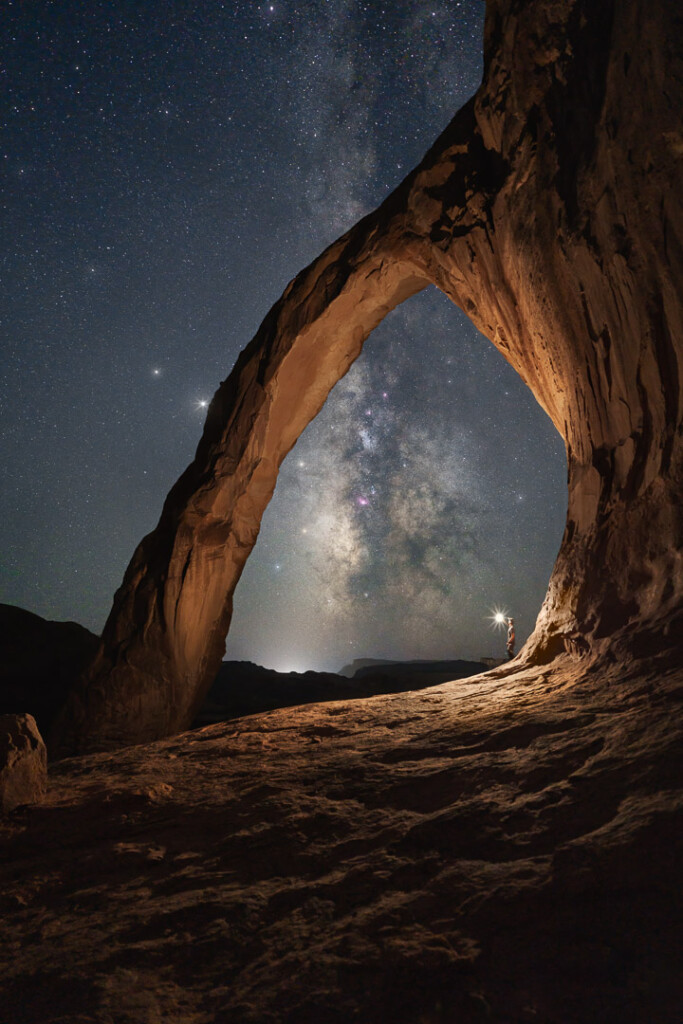
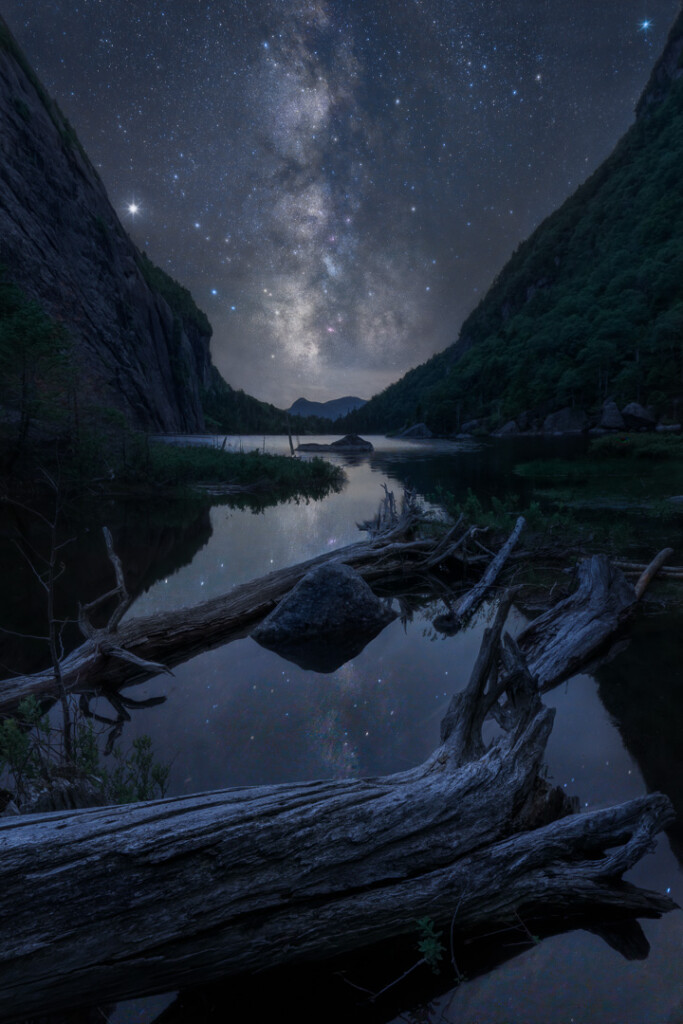
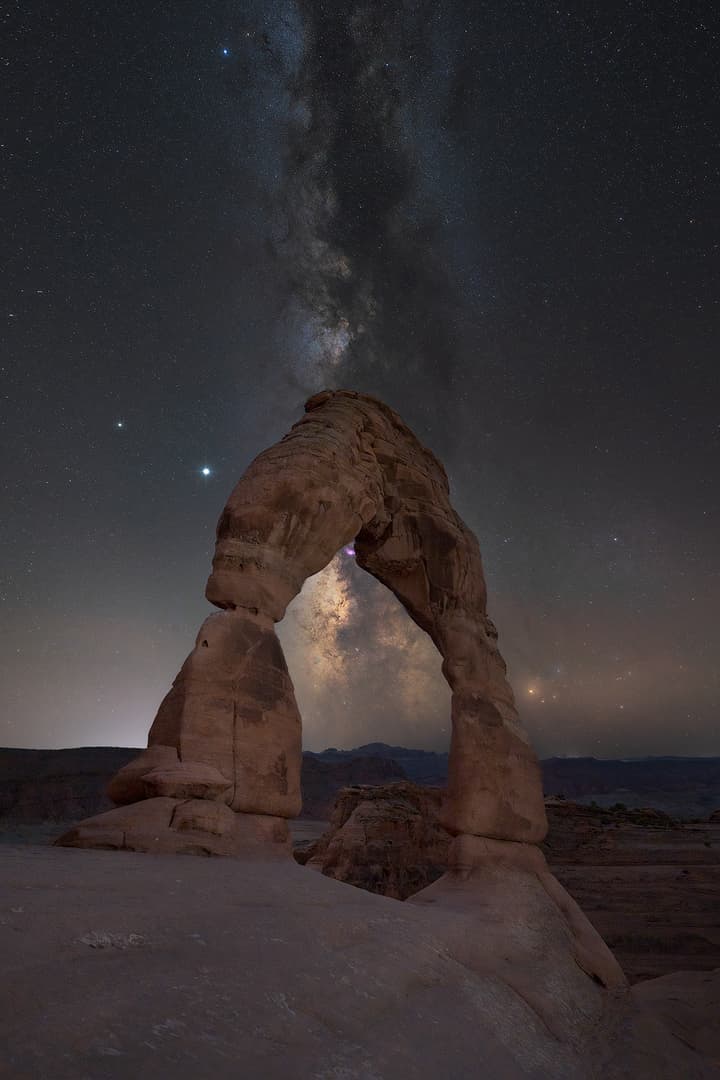
Básico
Avanzado
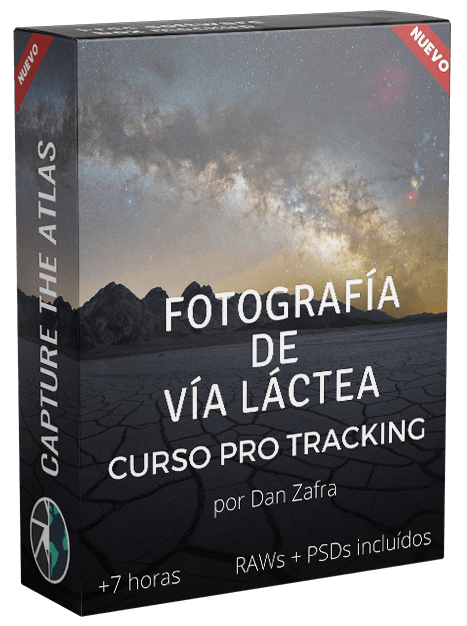
Pro Tracking
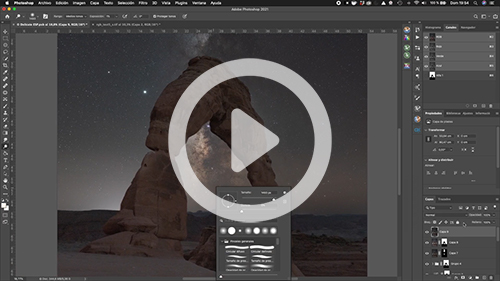
Básico
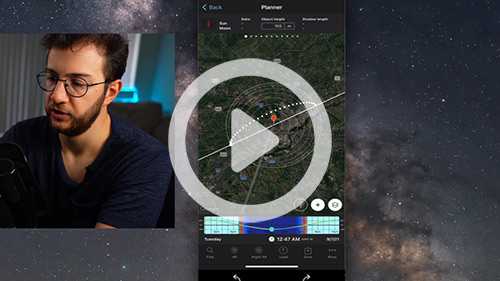

Avanzado


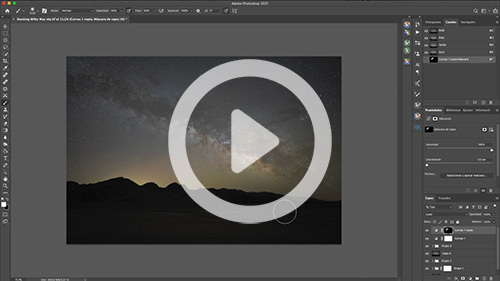
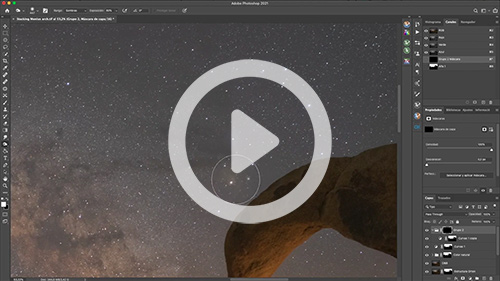
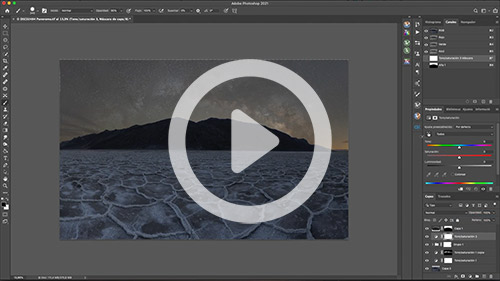
Pro Tracking


Dan probablemente ha sido quien más ha influido en mi crecimiento fotográfico, desde formaciones privadas en campo hasta de edición. Todavía no he tenido el placer de hacer un tour al extranjero con él, pero, por lo que he visto, es una aventura épica. Recomendaría mucho sus servicios y me gustaría agradecerle enormemente todo a Dan.
Joseph James
Formación Privada de Edición
Hicimos un taller fantástico con Dan trabajando diferentes técnicas fotográficas. Dan es un guía maravilloso, paciente, divertido y atento. Estuve esperando para comprar filtros porque quería saber lo que realmente necesitaba y Dan me dejó los suyos para que los probara antes de invertir. Hicimos algunas fotos fantásticas.
Heather Andrews
Taller Fotográfico en Ricketts Glen
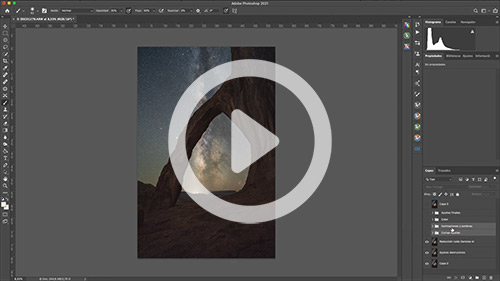
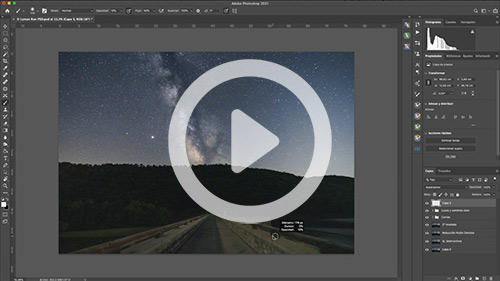
Cuando empecé a editar mis fotos hechas con tracker, no conseguía sacarle el máximo partido a los archivos. Dan me enseñó a destacar los detalles originales y a recuperar los asombrosos colores de los cielos nocturnos. Aunque estas técnicas avanzadas pueden ser bastante abrumadoras, Dan las hace realmente fáciles de seguir.
Jose Luis Cantabrana
Formación Privada de Edición
En mi reciente viaje fotográfico a Islandia, no solo pude ver auroras boreales, sino que también pude fotografiarlas gracias a la tutela y la paciencia de Dan. Volví a casa no solo con fotografías increíbles, sino también con un entusiasmo renovado por la fotografía. La pasión de Dan por la fotografía y los paisajes es inequívoca.
Rachel Rose
Viaje Fotográfico a Islandia
Todas las sesiones de formación que he realizado con Dan han sido muy instructivas. Pudimos ajustar el programa a mis intereses personales. Tanto la metodología como la logística que acompañó a cada una de las sesiones han funcionado a la perfección. Muy recomendable.
Isaac Loiola
Formación Privada de Edición
Si realmente quieres mejorar en fotografía, te recomiendo mucho Capture the Atlas. Tuve una clase privada con Dan y fue muy detallista explicando todo sobre la configuración de mi cámara, objetivos y edición. Sus habilidades son excelentes y siempre está dispuesto a compartir todos sus conocimientos.
Aleida Gallangos
Taller Fotográfico en Ricketts Glen
Dan has probably been one of the biggest supporters of my growth in photography everything from one-on-ones in the field to post processing. I have not yet had the pleasure of taking an overseas tour with him yet but, from what I have seen, it is an epic adventure. I would highly recommend his services and would like to give Dan a huge thanks
Joseph James
1 on 1 Post-Processing Training
We had a fantastic workshop with Dan working on shooting techniques. Dan is a wonderful guide, patient, funny and helpful. I have been waiting to invest in filters to understand what I really needed and Dan let me borrow his to get a feel of what I would need to invest in. We grabbed some fantastic shots.
Heather Andrews
Ricketts Glen Photography Workshop
When I started editing my star tracked photos I wasn't able to get the most out the raw files. Dan shown me the way to enhance the original details and recover the amazing colors of the night skies. Although these advanced techniques could be quite daunting, Dan made them really easy to follow.
Jose Luis Cantabrana
1 on 1 Post-Processing Training
On my recent photo tour to Iceland, not only was I able to see the Northern Lights, I was able to photograph them thanks to Dan tutelage and patience! I returned home with not only amazing pictures but also with renewed enthusiasm in photography. Dan's passion for photography and landscapes is unequivocal.
Rachel Rose
Iceland Photography Tour
All the training sessions that I’ve taken with Dan have been highly instructive. We were able to adjust the program to my personal interests and both the methodology and the logistics that accompanied each of the sessions have worked perfectly. Highly recommended.
Isaac Loiola
1 on 1 Post-Processing Couching
If you really want to learn how to improve your photography, I highly recommend Capture the Atlas. l had a private class with Dan, and he was very detailed explaining everything about my camera settings, lenses and post-processing. His skills are superb and he’s always eager to share all his knowledge.
Aleida Gallangos
Ricketts Glen Photography Workshop
