Tired of getting low-quality Milky Way photos?
Take your Milky Way Photography to infinity & beyond!
Master the skills it takes to create breathtaking images of the Milky Way – whether you’re a total beginner or an experienced photographer.
BLACK FRIDAY Sale!
– Don’t miss out on these savings! –
Use the code: BLACK60
Black Friday Sale!
– Don’t miss out on these savings! –
Use the code: BLACK60
Tired of getting low-quality Milky Way photos?
Take your Milky Way Photography to infinity & beyond!
Master the skills it takes to create breathtaking images of the Milky Way – whether you’re a total beginner or an experienced photographer.
Capture the Milky Way
From planning and composition, to shooting techniques and post-processing, Milky Way photography requires knowledge and experience in many different areas.
However, this is not as easy as it seems…
You have probably already purchased a good camera and lens, watched countless tutorials and Milky Way photography videos on YouTube, and tried your best to create a compelling image in post-processing.
And yet you’re not getting the result that you want, so you end up thinking:
My images are noisy and look low-quality
The focus in my images is off – I can’t get pinpoint stars
I feel lost in post-processing, I just make random adjustments and hope for the best
I got a tracker but I can’t capture the images that I want
My blendings look unnatural and distract the viewer’s eye
I know how to shoot the Milky Way but my images are lacking something
If you identified with any of the above statements, don’t worry, I’ve been there too.
I know how frustrating it can be to spend lots of time and energy on Milky Way photography without seeing any results.
I started shooting the Milky Way many years ago. At first, my images were terrible. They had a ridiculous amount of noise and the quality was very poor.
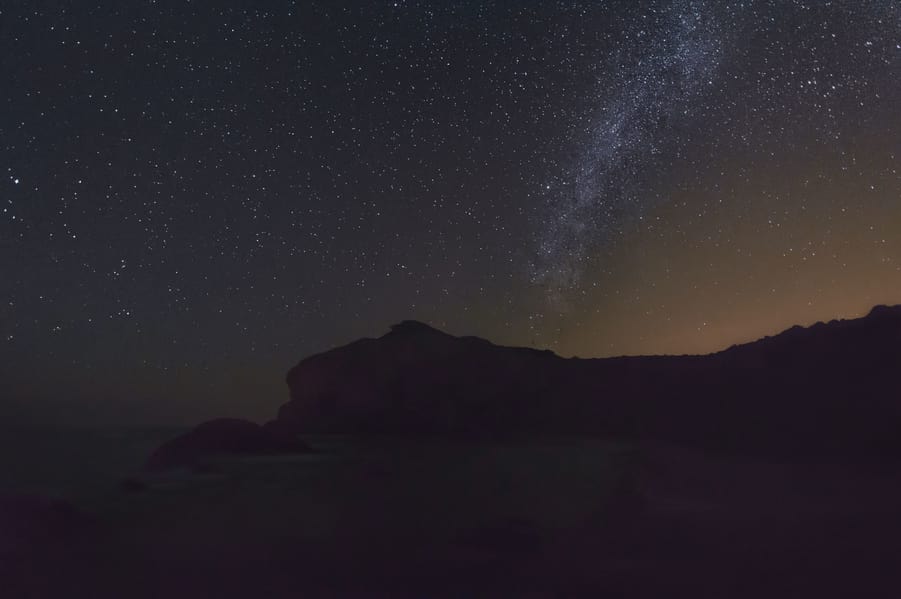
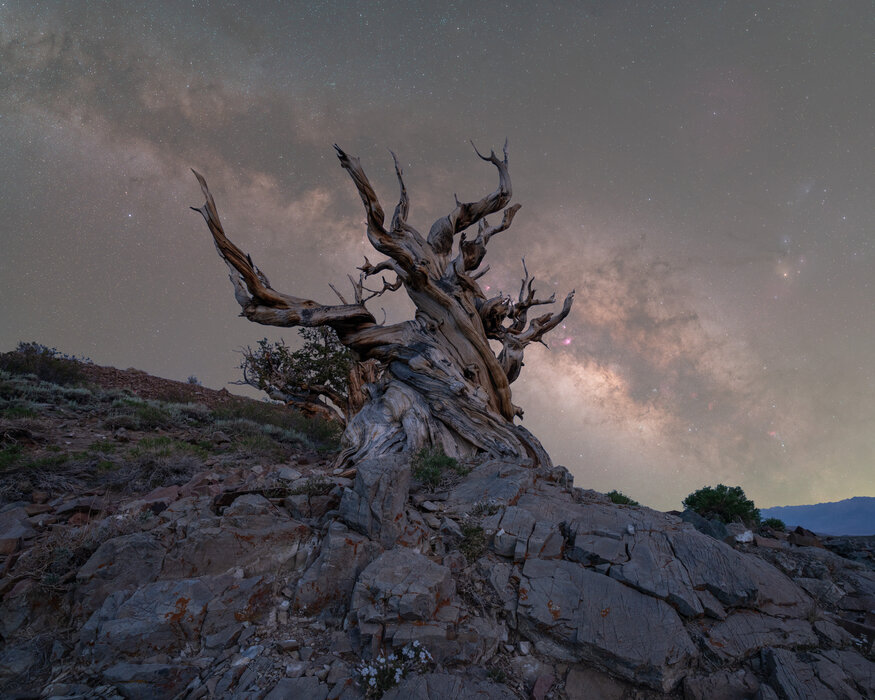
With time and practice, I managed to get much better results and cleaner images that were better quality:
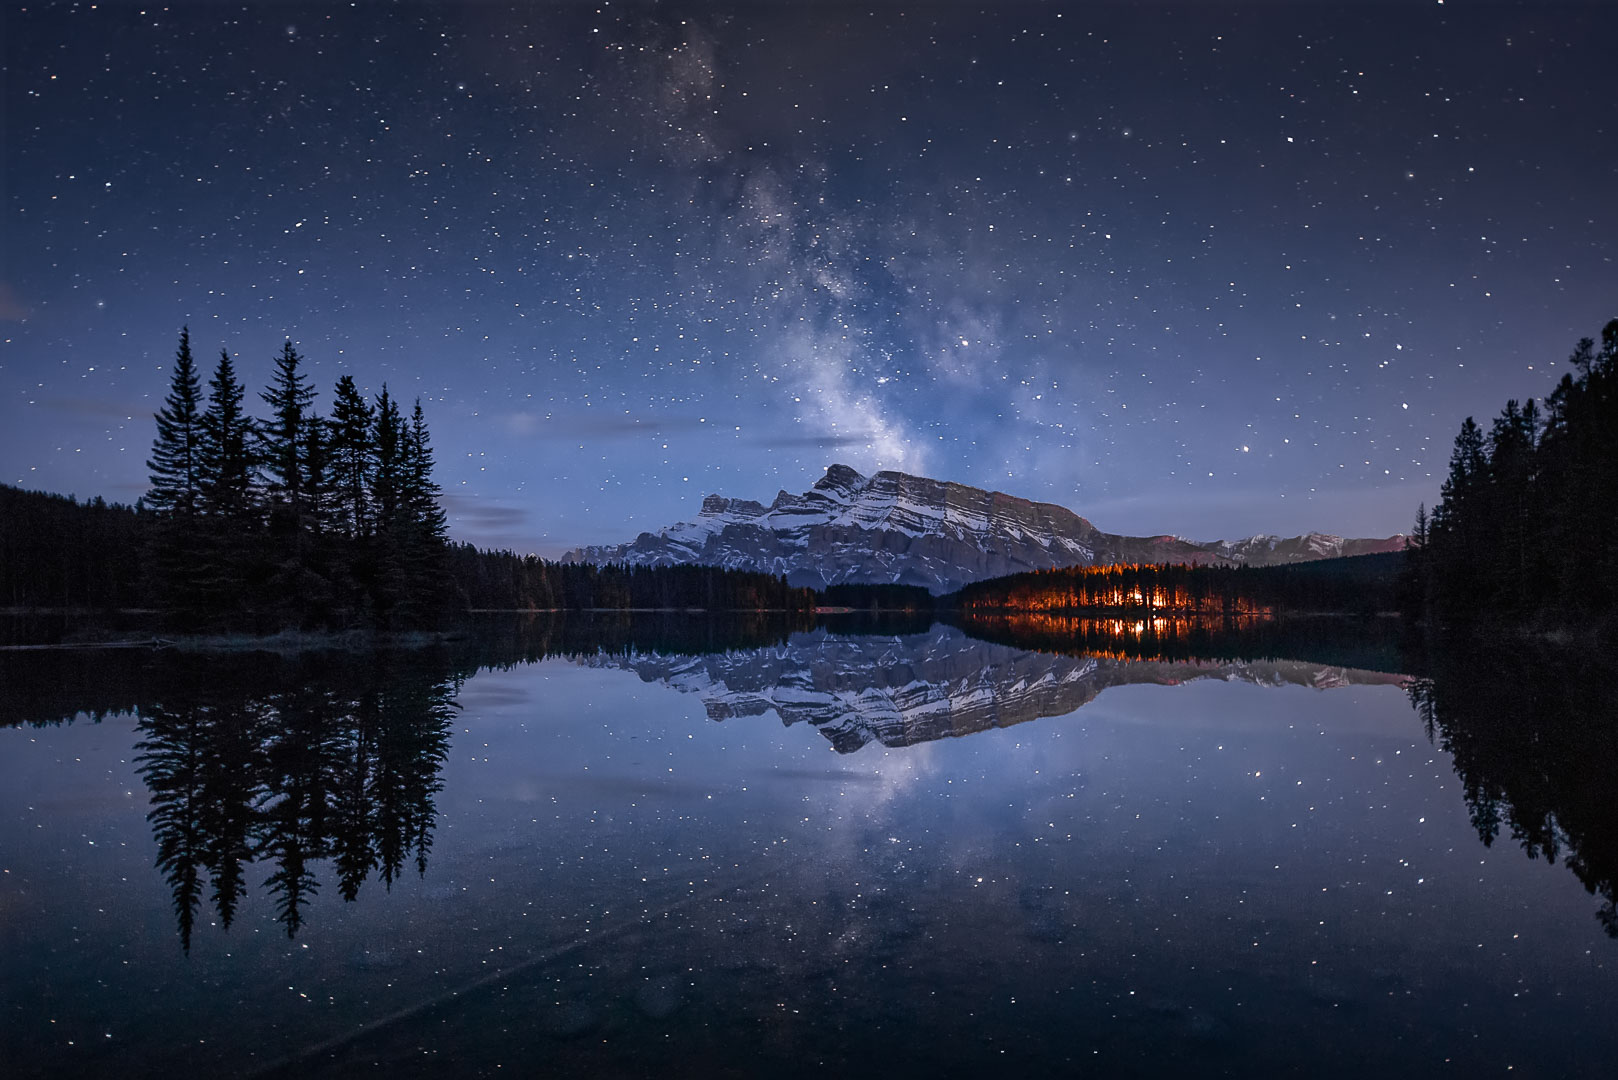
However, my images were still lacking something; I couldn’t get the details, colors, or impact that I was looking for.
That’s when I realized that, if I wanted to improve, I had to immerse myself in this photography genre.
I.
I learned how to plan using the best apps and astronomy tools.
II.
I studied composition and analyzed why the best Milky Way images worked.
III.
I researched the best gear and got my first star-tracker, the biggest game-changer for my Milky Way photography.
Iv.
I spent hundreds of hours in the field testing the best adjustments and shooting techniques…
V.
…and hundreds of hours in the studio learning complex astronomy post-processing techniques and implementing them in my workflow.
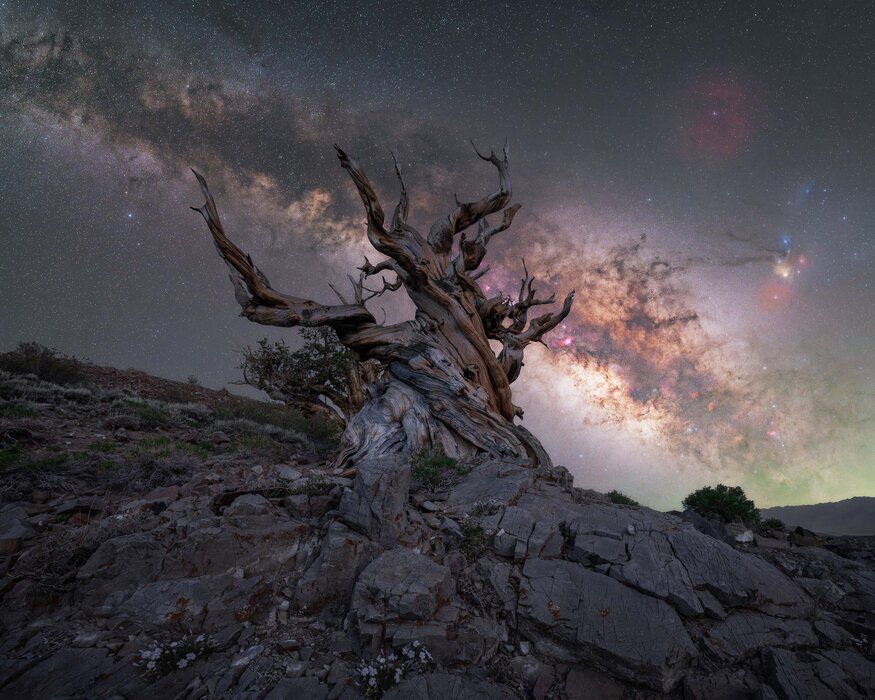
After all of this hard work, I managed to capture what I was looking for: images with impactful compositions and zero digital noise, that show all the details, nebulae, and natural colors in the Milky Way:


This was a long and arduous process that took me years to learn, develop, and adapt.
Now I want to make this knowledge accessible to everyone. Milky Way photography is one of the most exciting, moving, and rewarding types of photography, and everybody should have the opportunity to capture the best possible images in an easy way, regardless of their skills and astronomy knowledge.
That’s why I created:
Capture the Milky Way
The ultimate milky way photography course
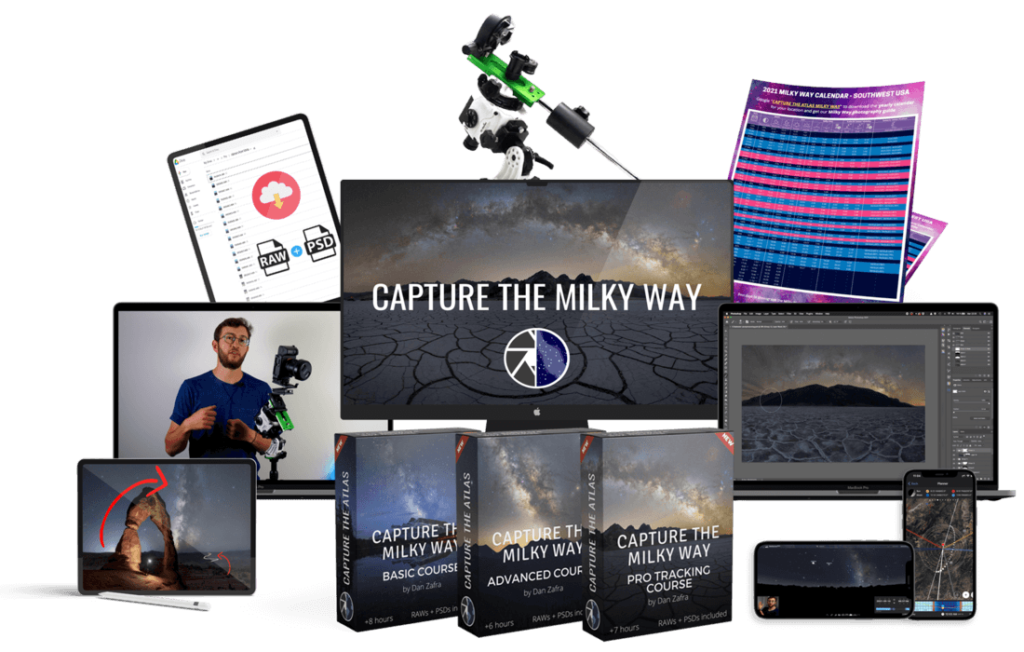
Whether you want to learn the most advanced techniques like tracking, take your current Milky Way photography to new heights, or you’re just starting out, Capture the Milky Way will help.
After completing this online program, you’ll know how to:

Capture quality images of the Milky Way, even with the most basic gear

Use the best techniques to get noise-free images

Create Milky Way compositions with more impact

Decide which star-tracker is best for you according to your budget and goals

Operate your tracker with confidence using the best techniques and settings

Polar-align like a pro to capture the best details and colors of the Milky Way

Gain confidence in post-processing and using advanced software in a straightforward way

Learn an easy and effective 6-step post-processing workflow that works

Blend images in a natural way that creates a feeling of uniformity

Capture the most complex Milky Way images, such as multirow tracked panoramas and mosaics at longer focal lengths
And this is just the beginning… This complete online program provides all the crucial elements that are vital to your success.
Here's what you'll get:
Training
The instruction that you need, organized in an easy-to-follow step-by-step program.
The information is organized chronologically and according to your skill level in three different modules.
Guidance & Support
You’ll never walk alone: Unlimited support whenever you have any questions or need any help. It doesn’t matter what or when; I will be there to assist you with anything you need.

Materials
The best materials to complement your training.
80+ RAW files and PSDs to practice your post-processing, plus Milky Way planners, charts, and other learning materials so you can keep honing your Milky Way photography skills.

Community
A powerful community of like-minded Milky Way photographers will share the path with you.
Make connections, share your improvements, and receive honest, constructive criticism without ads, likes, or trolls.

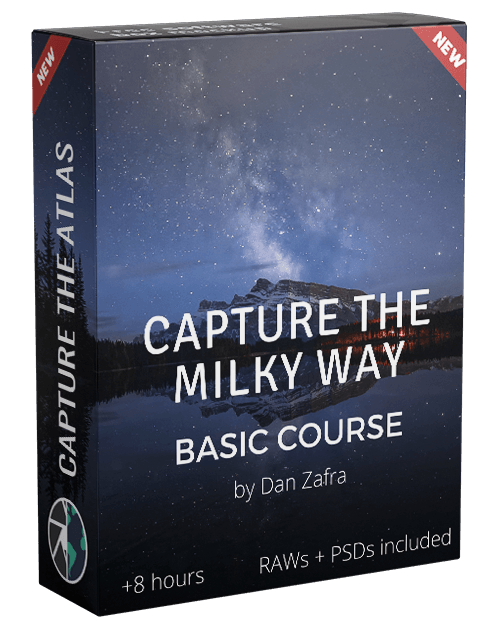
THIS IS A BRIEF SUMMARY OF THE DIFFERENT MODULES:
BASIC MODULE
21 LESSONS | 8 HRS 30 MIN
- Milky Way Planning
- Camera Gear
- Camera Settings
- Composition
- Basic Post-Processing
$197
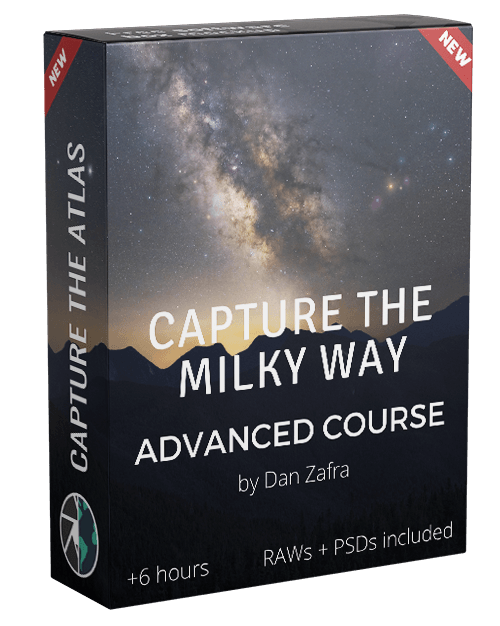
ADVANCED MODULE
22 LESSONS | 6 HRS 30 MIN
- Stacking
- Panoramas
- Blendings
- Star Reduction
- Advanced Post- Processing
$297
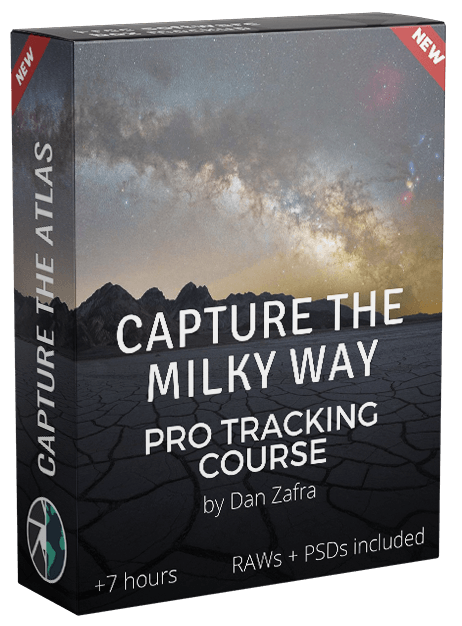
Pro tRACKING MODULE
19 LESSONS | 7 HRS 30 MIN
- Star Trackers
- Polar Alignment & Setup
- Tracked Panoramas
- Tracking Settings
- Pro Post-Processing
$397
Get the Complete Milky Way Photography Bundle for $891 $399!
EXPLORE THE COURSE PROGRAM
CAPTURE THE MILKY WAY BASIC MODULE
1.1. Introduction
A brief introduction to the basic module where we outline the content of the course and the best way to get started.

2.1. when to photograph the Milky Way
The first and most important step when planning. We’ll discuss the best times of year and night, the position of the Milky Way in the sky, moon phases, calendars, and more.

2.2. Where to photograph the Milky Way
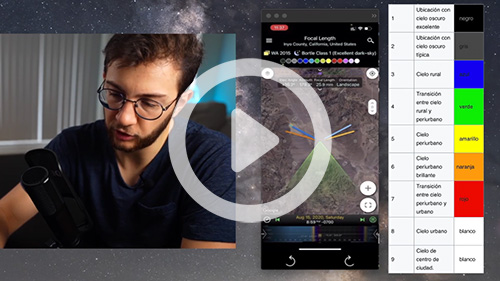
Find the best locations both when traveling and near you – light pollution maps, altitude, best weather apps, Bortle scale, etc.

2.3. Milky Way calendars
Learn how to use and read a Milky Way Calendar to plan your photos at a glance.

2.4. Stellarium
Learn the easiest way to use Stellarium, one of the most powerful tools to plan your Milky Way images.

2.5. Google Earth Pro
All the tips and tricks to use Google Earth Pro for finding the best locations and compositions to capture the Milky Way
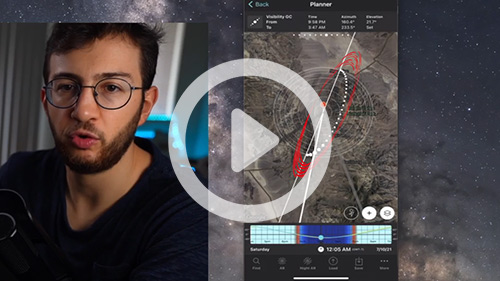
2.6. Photopills
A step-by-step guide to using Photopills for Milky Way planning. We’ll look at all the tools and hidden tricks in the app.
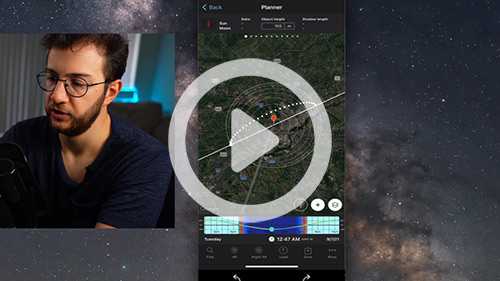
2.7. Planit Pro
Everything you need to know how to use the Milky Way planner app Planit Pro, including all of its functions and most advanced features.
2.8. 4-Step planning workflow
I describe my complete Milky Way planning workflow in 4 easy steps and show you two real cases from start to finish.

3.1. Camera gear
The best camera gear to shoot the Milky Way – cameras, lenses, tripods, headlamps, and more. My recommendations for the best possible gear according to your goals and budget.

4.1. Focus
Learn how to focus like an expert with a real-life example and avoid making the #1 mistake in Milky Way photography ever again.

4.2. Camera settings
The settings you should use in your camera to get the best results. We cover everything, from the key exposure settings to ALL the adjustments that you should set in your camera.

4.3. The histogram
Learn what the histogram should look like in your photos and how to read the histogram in the field with many examples.

5.1. Composition
A complete masterclass in Milky Way composition to learn the best rules and elements that you can use to capture images with impact.

6.1. Introduction to Lightroom
All the basics to get started using Lightroom to edit your Milky Way photos.

6.2. Introduction to Photoshop
A complete beginner’s guide to using Photoshop for Milky Way photography. Basic workflow, adjustments, tools, best settings…Photoshop won’t be daunting anymore!
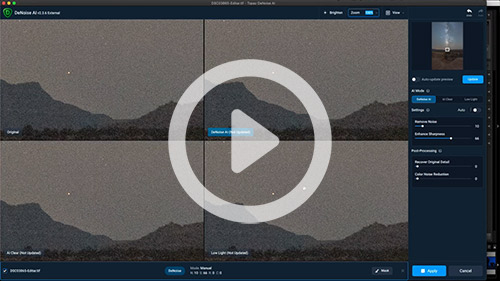
6.3. Denoise AI Noise Reduction
A full tutorial on how to use the best noise reduction software on the market: Denoise AI.
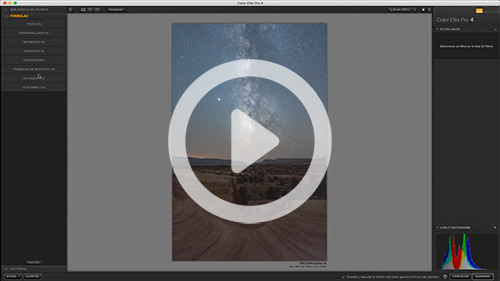
6.4. Nik Collection
Learn how to make the most of this powerful editing tool and which filters work best in Milky Way images.
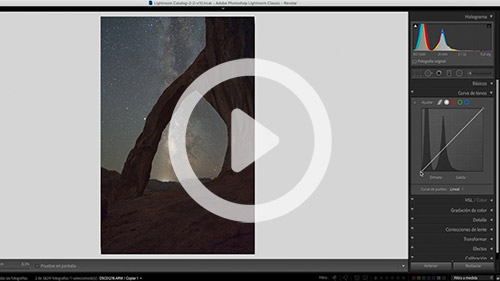
6.5. Edit and Post-processing – Lightroom BASIC
In this video tutorial, I will show you my basic workflow for editing images of the Milky Way in Lightroom.
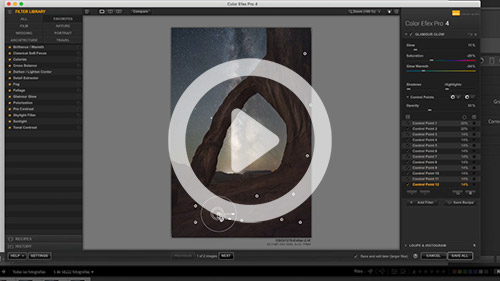
6.6. Edit and Post-processing – Lightroom ADVANCED
Learn the most advanced tools in Lightroom to edit your Milky Way images through a real-life example – Radial & Gradient filters, color and luminosity masking, color separation, etc.
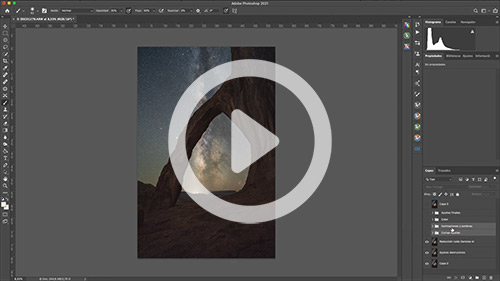
6.7. start-to-finish using photoshop
Learn how to apply some basic and effective tools and adjustments in Photoshop to finish your Milky Way images.
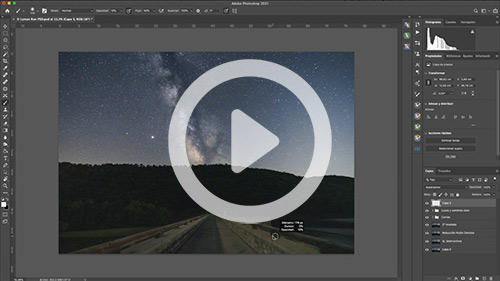
6.8. Start-to-finish
A start-to-finish tutorial where I show my complete basic workflow with all the steps, tricks, and recommendations.

7.1. Conclusion
Some final recommendations that will allow you to have the best possible foundation in Milky Way photography and know the best way to step up your skills before jumping into the advanced module.
CAPTURE THE MILKY WAY ADVANCED MODULE

1.1. Introduction
An introduction to the advanced module where we describe the content of the course and the best way to get the most out of it.
2.1. Foundations of stacking
Stacking is one of the easiest and most powerful techniques to capture less noise and get higher-quality images. You’ll learn what stacking is, how to do it, and why you should stack your images.
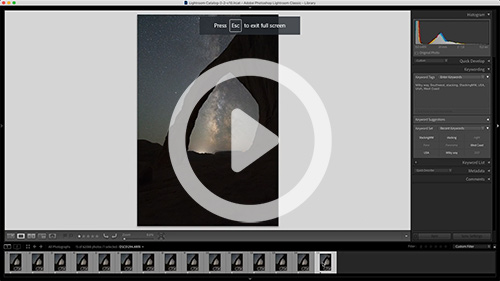
2.2. Stacking – File preparation
The file preparation is the foundation of a successful stacking. Learn all the adjustments and export details that you should apply when you are preparing your stacking.
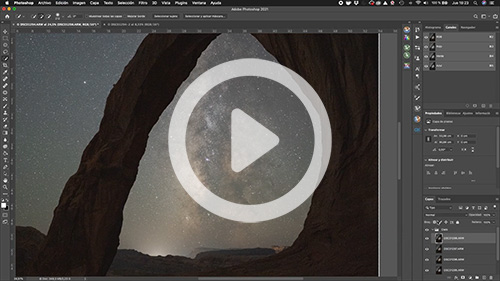
2.3. Stacking in Photoshop
Stacking in Photoshop is possible if you follow all the steps and techniques described in this tutorial.
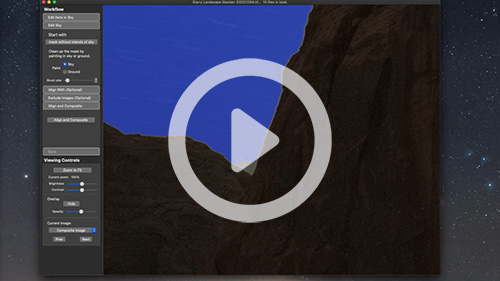
2.4. Stacking in Starry landscape stacker (Mac)
The best software to stack images in Mac. This is a full tutorial on how to use it and some recommendations to get the best results.
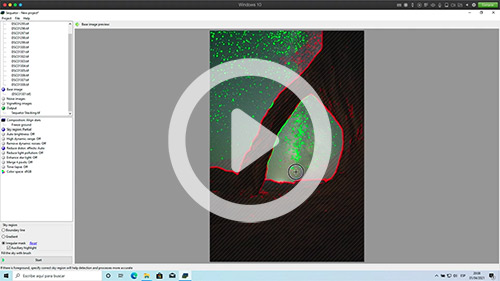
2.5. Stacking in Sequator (Windows)
The best software to stack images in Windows. Learn how to download it, use it, and get clean stacked images in seconds.
3.1. Milky Way panoramas – types and technique
Everything you need to take panoramas – types of Milky Way panoramas, essential camera gear, a step-by-step tutorial of the best technique, and some tips to capture perfect panoramas.

3.2. stitching in Lightroom
We’ll cover different pieces of software to do the stitching process. The first is Lightroom, where you’ll see the easiest process to stitch your panorama.

3.3. stitching in photoshop
A guide to stitching Milky Way panoramas using Photoshop.
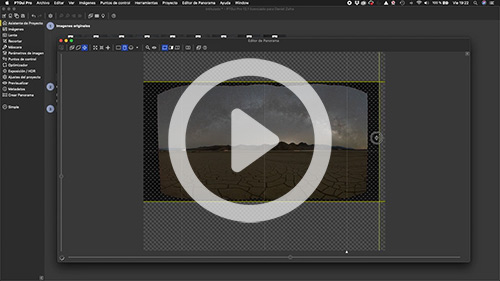
3.4. stitching in Ptgui Pro
Full tutorial on the most advanced panorama-stitching software on the market. Learn the basics and the most advanced tools in PTGui Pro.
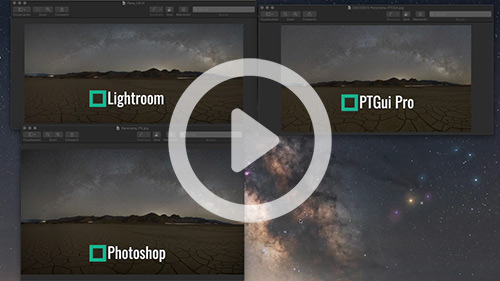
3.5. Comparison: Which software should I use?
We discuss all the pros and cons of using Lightroom, Photoshop, and PTgui Pro for stitching Milky Way panoramas. We analyze a real-life example and I give my recommendations according to your budget and goals.
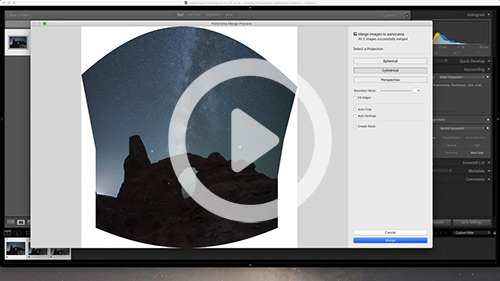
3.6. Bonus: Milky Way vertical panoramas
Bonus video that shows how to capture and edit Milky Way vertical panoramas.
4.1. Blendings in Milky Way photography – types
Blendings are crucial for getting the highest-quality photos of the Milky Way. Learn the different types of blendings for the foreground and for the sky.
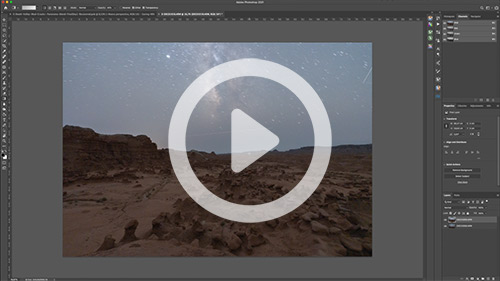
4.2. Blending post-processing: 1st Semiautomatic selections
There are many ways to make selections, and in this video, we will focus on the first type, also known as semi-automatic selections.
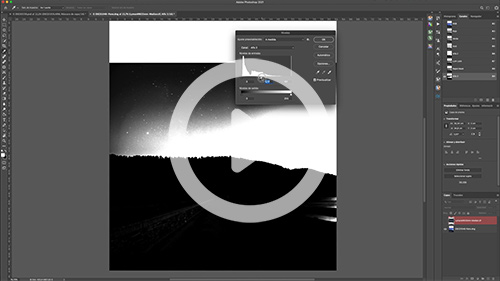
4.3. Blending post-processing: 2nd Luminance and color selections
Learn how to do blendings in complex scenarios, such as shots with trees and branches on the horizon, using luminance and color selections.
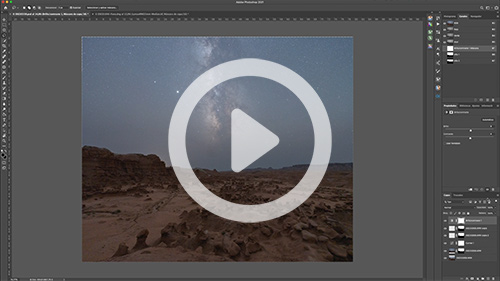
4.4. Blending post-processing: 3rd Final blending of the images
Create a perfect blend of two images that looks completely merged and uniform with a series of steps and useful tricks in Photoshop.
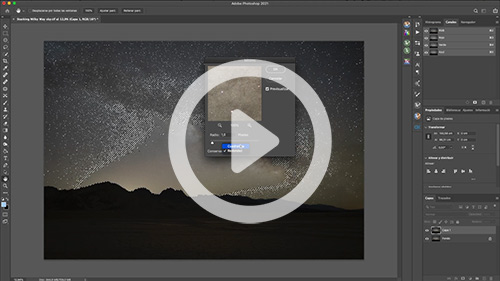
5.1. Advanced post-processing – Star reduction
Reduce the size of the stars and get cleaner images with more details in your Milky Way with the best Photoshop star reduction techniques.

5.2. Advanced post-processing – Milky Way structure
Learn the most advanced techniques to extract and highlight the entire structure of the Milky Way without artifacts or noise.
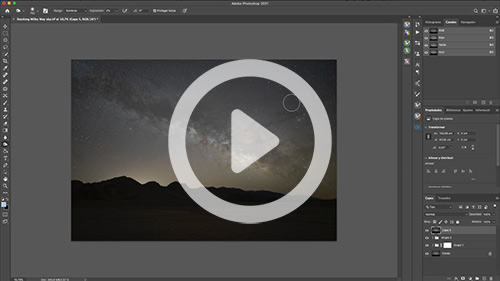
5.3. Advanced post-processing – Dodge & Burn
Using this Dodge & Burn technique will generate more volume and interesting elements in your Milky Way images.
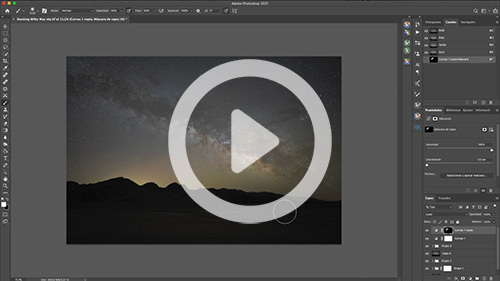
5.4. Advanced post-processing – Natural colors of the Milky Way
I show you the best technique to extract all the natural colors of the Milky Way and the night sky. You’ll extract and enhance all the colors of the nebulae, the stars, the airglow…in a couple of easy clicks!
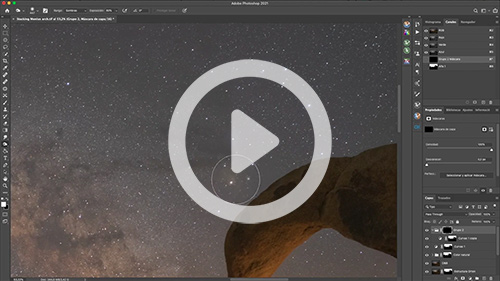
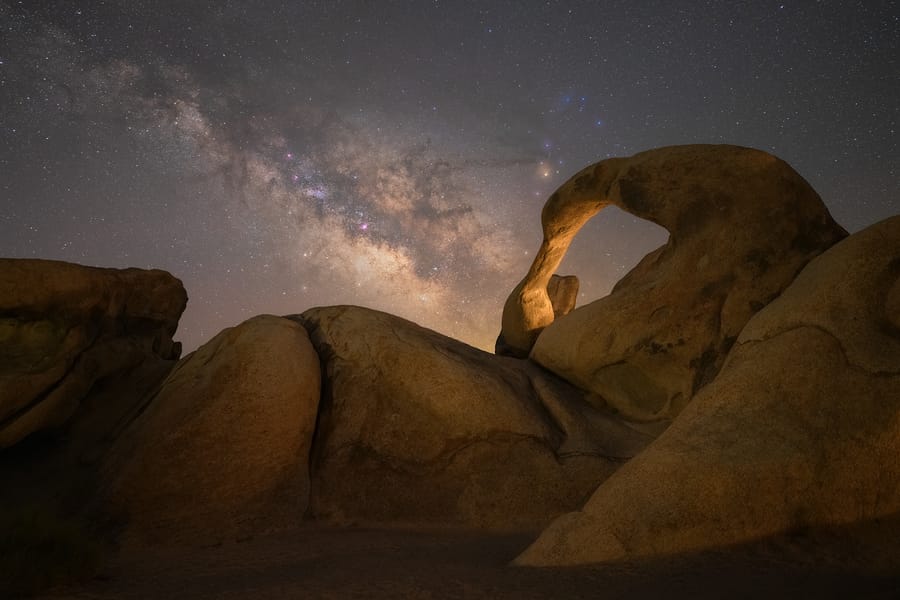
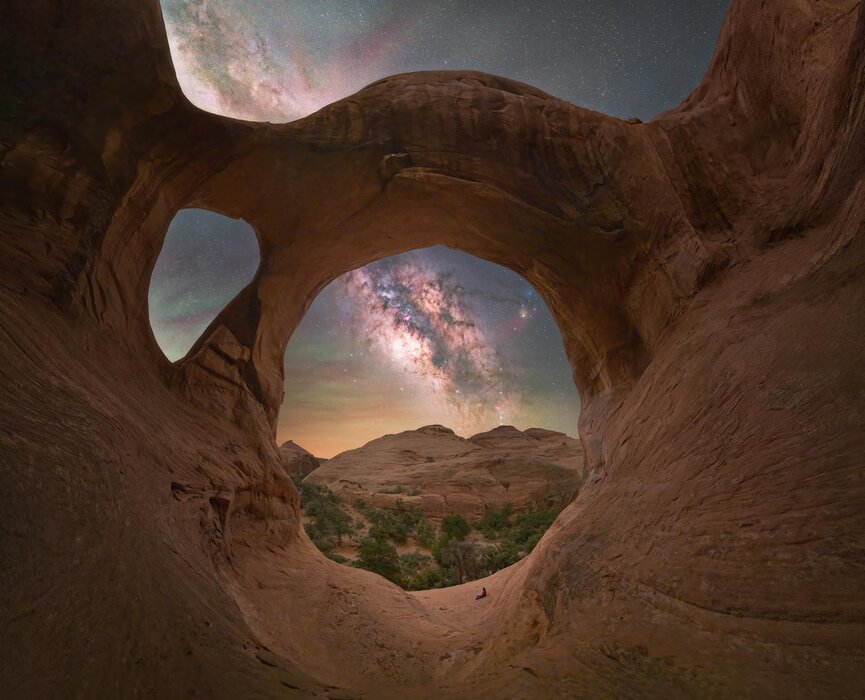
6.1. Start to finish – Mobius arch
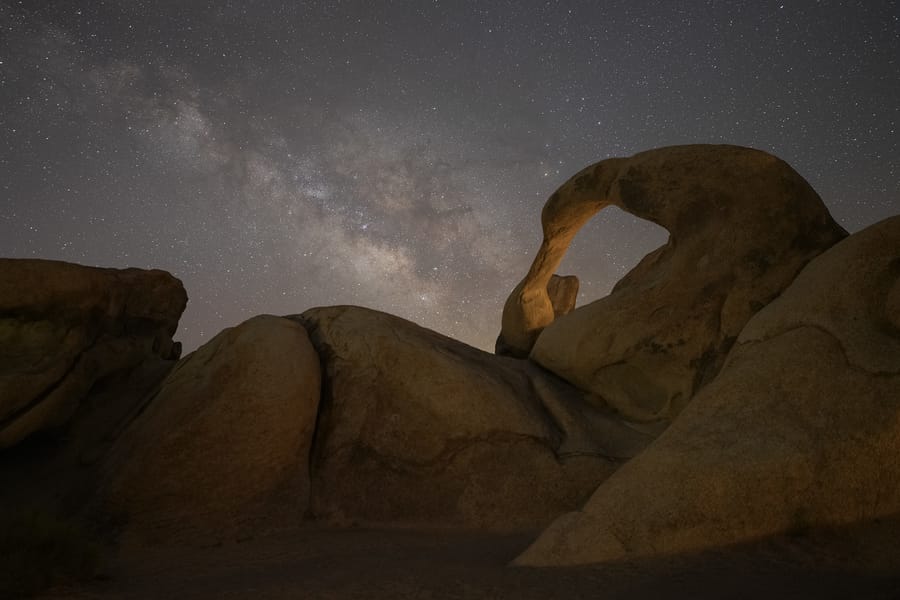
Complete start-to-finish post-processing tutorial using stacking and all the advanced post-processing techniques explained during the course.
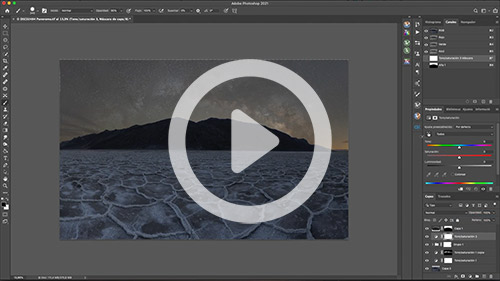
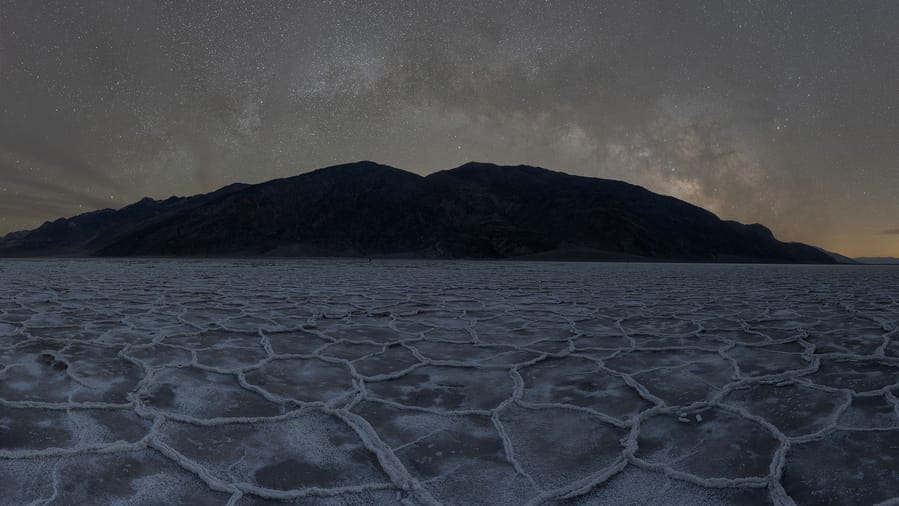
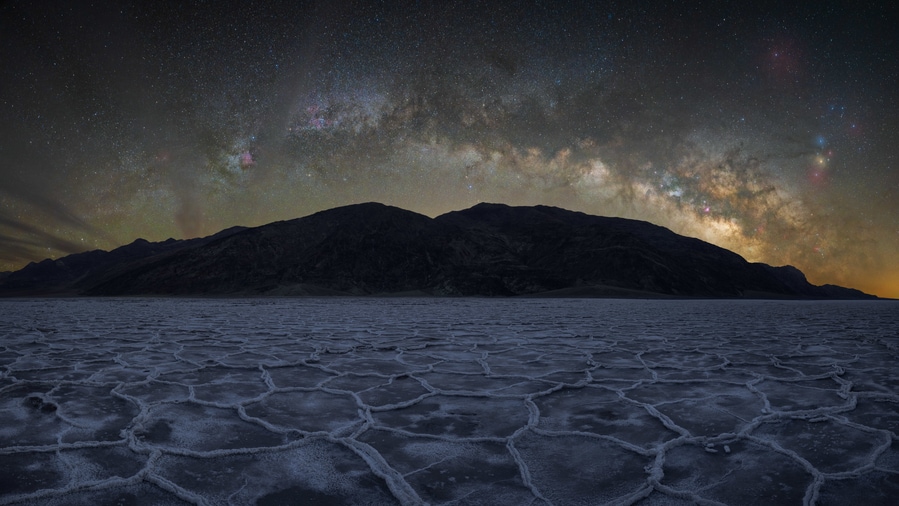
6.2. Start to finish – Badwater basin
Complete start-to-finish post-processing tutorial of a Milky Way panorama with a blue-hour blend and all the advanced post-processing techniques explained during the course.
7.1. Conclusion
Some final pieces of advice to help you grasp all the advanced techniques explained in the course more quickly and get ready for the ultimate goal: Tracking!
CAPTURE THE MILKY WAY PRO TRACKING MODULE
1.1. Introduction
An introduction to the Pro Tracking course. Spoiler alert: this module is going to change your Milky Way photography forever 😉
1.2. Foundations of tracking
Before getting started, it’s important to know all the basics of tracking. Learn what tracking is, what a star-tracker is, and the pros and cons of tracking.
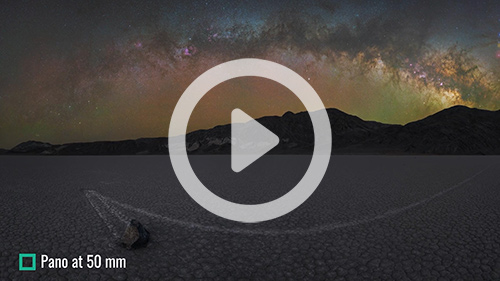
2.1. Tracking camera gear – best lenses and focal lengths
We start talking about the optimal camera gear for Milky Way tracking and the best lenses and focal lengths that you can use. I’ll show you different real-life examples and my recommendations.
2.2. TRACKING CAMERA GEAR – star-trackers
Which tracker should I use? We’ll dive into the different types of trackers on the market, their pros and cons, and my recommendations according to your budget and goals.
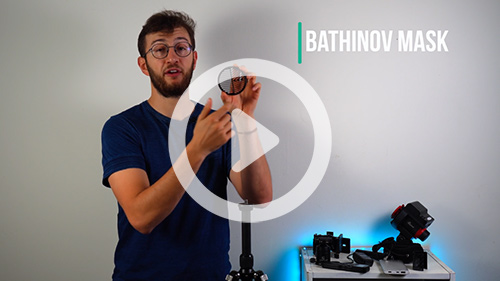
2.3. Other tracking accessories
You’ll learn all the must-have and recommended accessories for Milky Way tracking. This will make things much easier in the field.
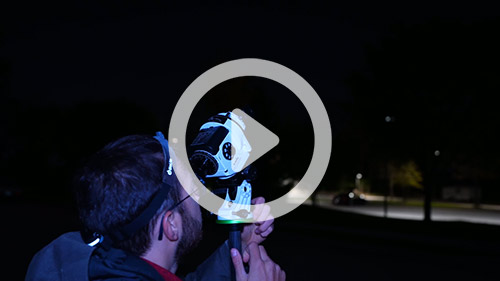
3.1. Polar alignment basics
The most important step and #1 error when tracking. Learn all the foundations of a good polar alignment to capture pinpoint stars.
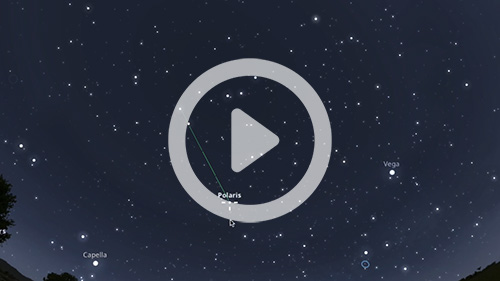
3.2. Polar alignment – finding north
Learn how to find Polaris in the northern skies with some easy tips.
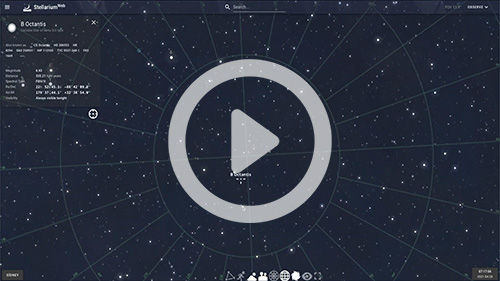
3.3. Polar alignment – finding south
Learn how to find Sigma Octantis (“Australis Polaris”) in the southern skies using the best reference.
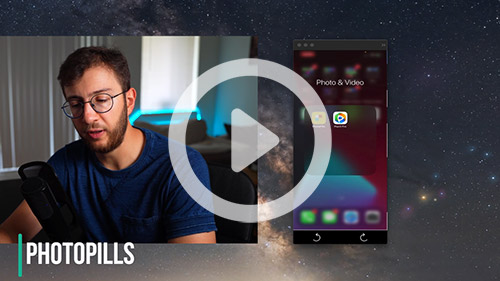
3.4. Polar alignment – best apps
Finding the North and South Celestial Poles is easier than ever with these apps. I’ll show you my favorite apps to polar align and how to use them.
3.5. How to Polar align – Step by step
The complete step-by-step polar alignment tutorial that I’d have loved to see when I was starting. I go down from the basic steps to the smallest details so you won’t have any problems in the field.
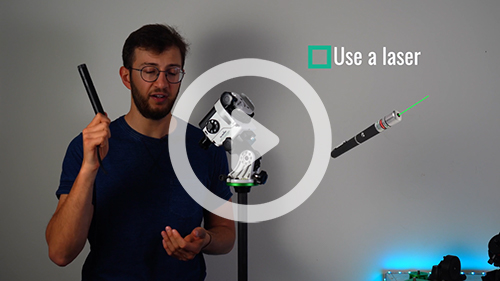
3.6. Polar Alignment tips
Avoid all the trial and error with the best polar alignment tips, like how to correct in the middle of a shooting, or how to polar align inside a cave without using Polaris/Octans.
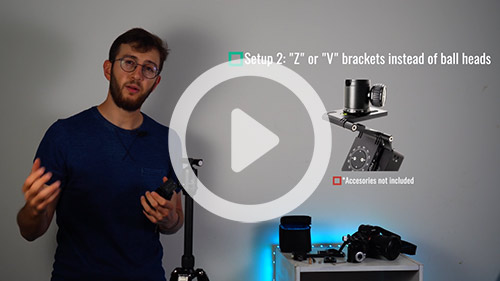
4.1. MSM Rotator review & setup guide
Learn all the pros and cons of the MSM rotator, when you should use it, what the limits are…and most importantly, a complete, step-by-step guide on how to use it in the field.
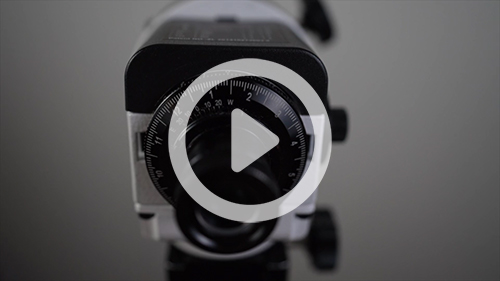
4.2. Sky-Watcher Star Adventurer Pro Review & Setup guide
Full review of and complete setup tutorial for one of the most popular trackers in the market: the Sky-Watcher Star Adventurer Pro.
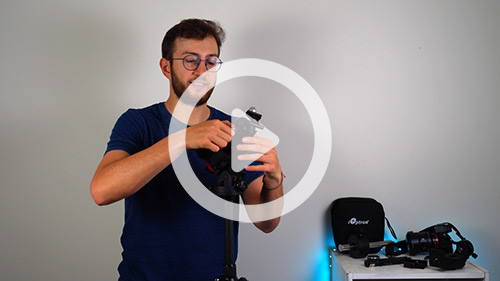
4.3. ioptron skyguider pro REVIEW & SETUP GUIDE
Full review of and complete setup tutorial for one of the most popular trackers in the market: the iOptron SkyGuider Pro.
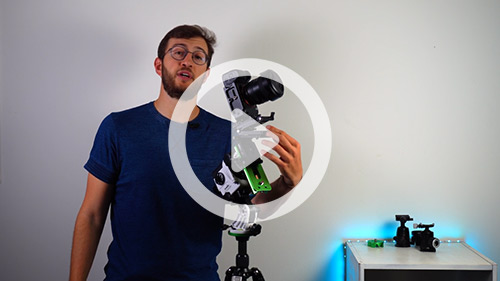
4.4. Tracked Panoramas
The ultimate next level when tracking the Milky Way. I’ll show you the best gear, techniques, and recommendations to capture breathtaking tracked panoramas and mosaics of the Milky Way!
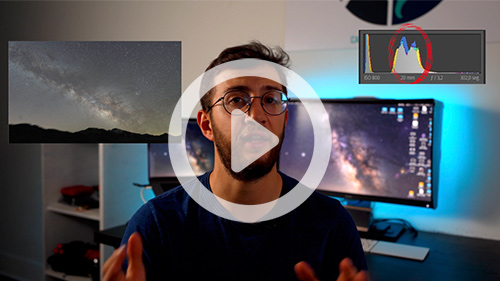
5.1. tracked camera settings
Camera settings change completely when you track the Milky Way. Learning this can require a lot of time and experience, but In this tutorial, you’ll find a guide that will shorten the process to just 40 minutes.
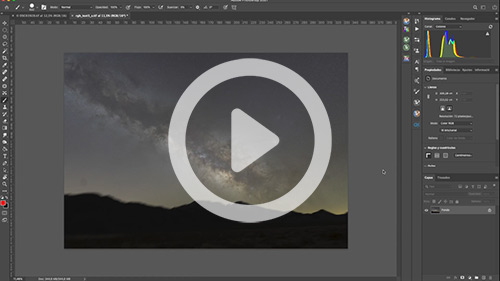
6.1. Pro post-processing – Advanced star reduction
Learn how professional astrophotographers reduce the stars. The details in your Milky Way images will stand out and you won’t find any artifacts in your shots.
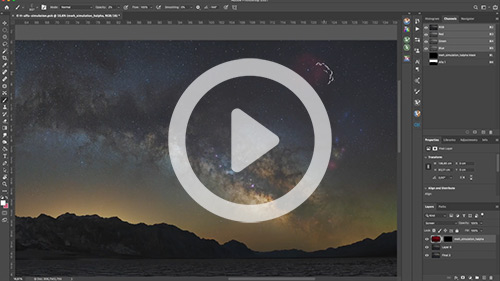
6.2. Pro post-processing – h-alpha simulation
Extract/simulate the H-alpha colors in your nebulae even with a non-astro-modified camera. You’ll learn how to enhance the most beautiful regions in the Milky Way.
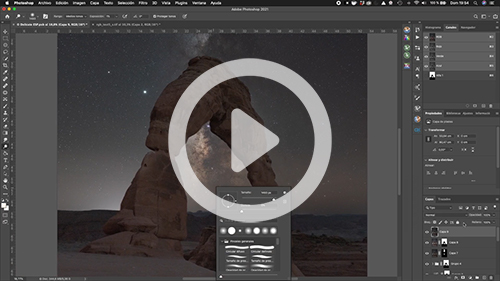
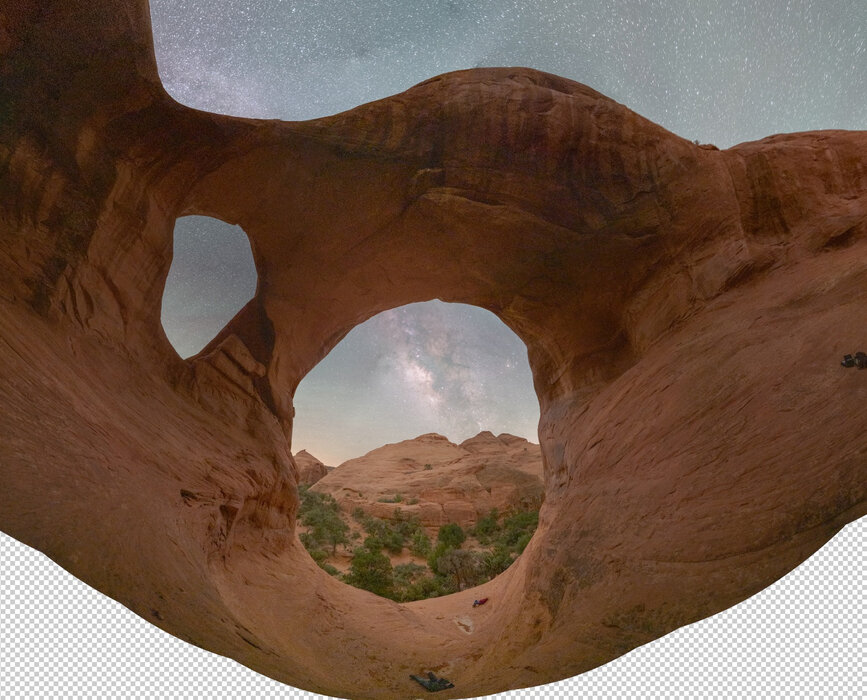
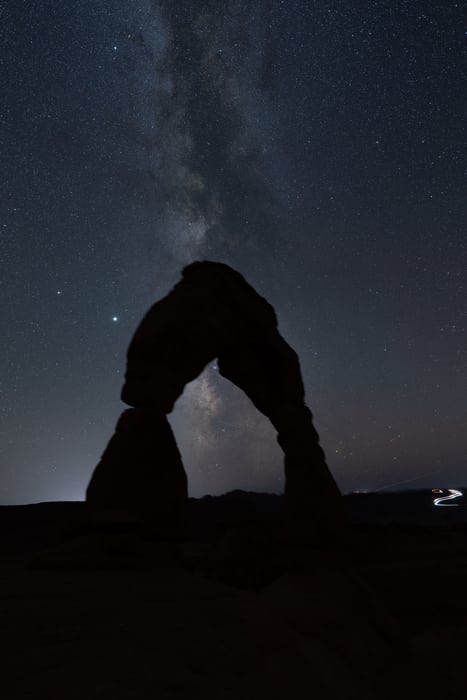
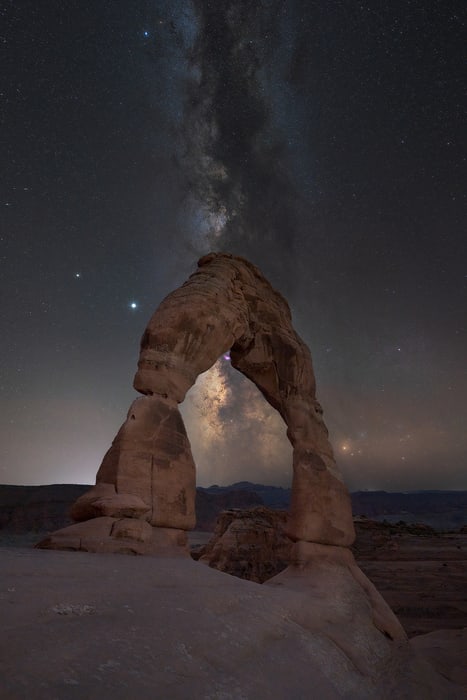
6.3. Start-to-finish tutorial – Delicate arch
Complete start-to-finish post-processing tutorial of a complex tracked image with a long exposure blend, and all the pro post-processing techniques explained during the course. Learn how to blend with an element cutting across the horizon.
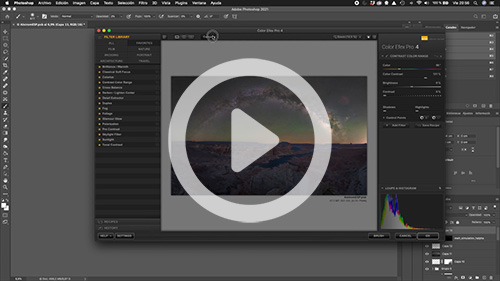
6.4. Start-to-finish tutorial – Alstrom Point
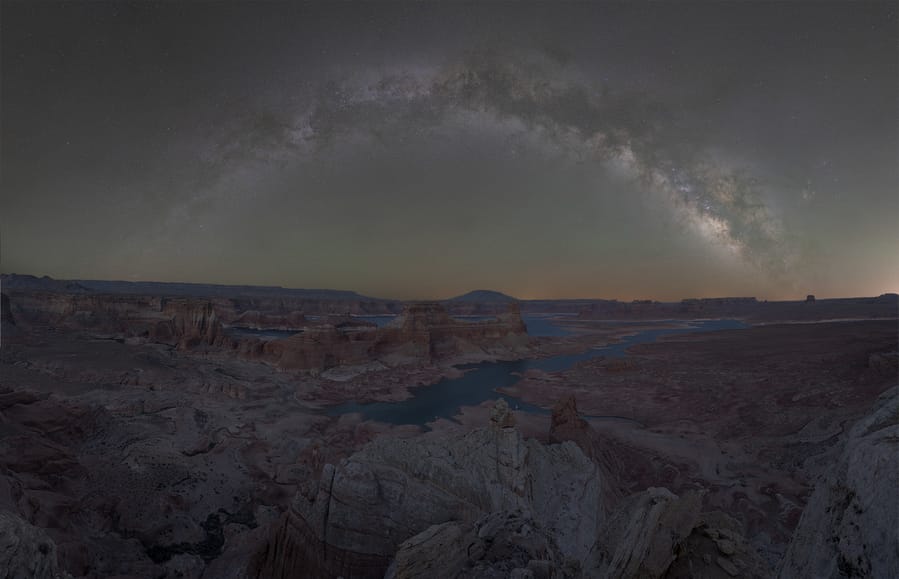
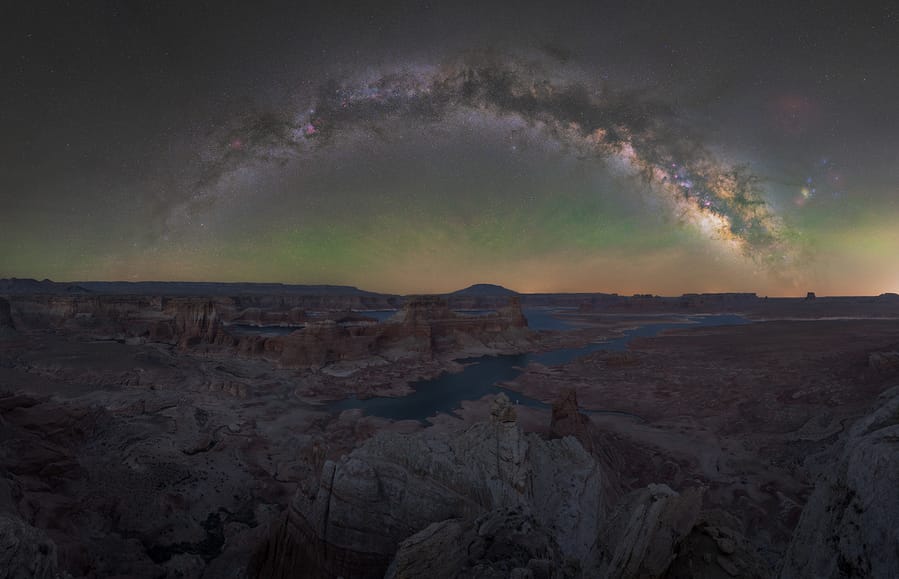
The most complex start-to-finish tutorial of the entire course. We process a Milky Way tracked panorama captured with a longer focal length and a blue-hour blend. You’ll learn how to solve the most challenging issues, the ultimate post-processing techniques, and a new method to enhance the airglow in your images.
7.1. Conclusion
Some final recommendations that will allow you to capture the best possible tracked images of the Milky Way and prepare for the challenges that you’ll find along the way.
CAPTURE THE MILKY WAY BASIC MODULE

1.1. Introduction
A brief introduction to the basic module where we outline the content of the course and the best way to get started.

2.1. when to photograph the Milky Way
The first and most important step when planning. We’ll discuss the best times of year and night, the position of the Milky Way in the sky, moon phases, calendars, and more.

2.2. Where to photograph the Milky Way
Find the best locations both when traveling and near you – light pollution maps, altitude, best weather apps, Bortle scale, etc.

2.3. Milky Way calendars
Learn how to use and read a Milky Way Calendar to plan your photos at a glance.

2.4. Stellarium
Learn the easiest way to use Stellarium, one of the most powerful tools to plan your Milky Way images.

2.5. Google Earth Pro
All the tips and tricks to use Google Earth Pro for finding the best locations and compositions to capture the Milky Way

2.6. Photopills
A step-by-step guide to using Photopills for Milky Way planning. We’ll look at all the tools and hidden tricks in the app.

2.7. Planit Pro
Everything you need to know how to use the Milky Way planner app Planit Pro, including all of its functions and most advanced features.

2.8. 4-Step planning workflow
I describe my complete Milky Way planning workflow in 4 easy steps and show you two real cases from start to finish.

3.1. Camera gear
The best camera gear to shoot the Milky Way – cameras, lenses, tripods, headlamps, and more. My recommendations for the best possible gear according to your goals and budget.

4.1. Focus
Learn how to focus like an expert with a real-life example and avoid making the #1 mistake in Milky Way photography ever again.

4.2. Camera settings
The settings you should use in your camera to get the best results. We cover everything, from the key exposure settings to ALL the adjustments that you should set in your camera.

4.3. The histogram
Learn what the histogram should look like in your photos and how to read the histogram in the field with many examples.

5.1. Composition
A complete masterclass in Milky Way composition to learn the best rules and elements that you can use to capture images with impact.

6.1. Introduction to Lightroom
All the basics to get started using Lightroom to edit your Milky Way photos.

6.2. Introduction to Photoshop
A complete beginner’s guide to using Photoshop for Milky Way photography. Basic workflow, adjustments, tools, best settings…Photoshop won’t be daunting anymore!

6.3. Denoise AI Noise Reduction
A full tutorial on how to use the best noise reduction software on the market: Denoise AI.

6.4. Nik Collection
Learn how to make the most of this powerful editing tool and which filters work best in Milky Way images.

6.5. Edit and Post-processing – Lightroom BASIC
In this video tutorial, I will show you my basic workflow for editing images of the Milky Way in Lightroom.

6.6. Edit and Post-processing – Lightroom ADVANCED
Learn the most advanced tools in Lightroom to edit your Milky Way images through a real-life example – Radial & Gradient filters, color and luminosity masking, color separation, etc.

6.7. start-to-finish using photoshop
Learn how to apply some basic and effective tools and adjustments in Photoshop to finish your Milky Way images.

6.8. Start-to-finish
A start-to-finish tutorial where I show my complete basic workflow with all the steps, tricks, and recommendations.

7.1. Conclusion
Some final recommendations that will allow you to have the best possible foundation in Milky Way photography and know the best way to step up your skills before jumping into the advanced module.
CAPTURE THE MILKY WAY ADVANCED MODULE

1.1. Introduction
An introduction to the advanced module where we describe the content of the course and the best way to get the most out of it.

2.1. Foundations of stacking
Stacking is one of the easiest and most powerful techniques to capture less noise and get higher-quality images. You’ll learn what stacking is, how to do it, and why you should stack your images.

2.2. Stacking – File preparation
The file preparation is the foundation of a successful stacking. Learn all the adjustments and export details that you should apply when you are preparing your stacking.

2.3. Stacking in Photoshop
Stacking in Photoshop is possible if you follow all the steps and techniques described in this tutorial.

2.4. Stacking in Starry landscape stacker (Mac)
The best software to stack images in Mac. This is a full tutorial on how to use it and some recommendations to get the best results.

2.5. Stacking in Sequator (Windows)
The best software to stack images in Windows. Learn how to download it, use it, and get clean stacked images in seconds.

3.1. Milky Way panoramas – types and technique
Everything you need to take panoramas – types of Milky Way panoramas, essential camera gear, a step-by-step tutorial of the best technique, and some tips to capture perfect panoramas.

3.2. stitching in Lightroom
We’ll cover different pieces of software to do the stitching process. The first is Lightroom, where you’ll see the easiest process to stitch your panorama.

3.3. stitching in photoshop
A guide to stitching Milky Way panoramas using Photoshop.

3.4. stitching in Ptgui Pro
Full tutorial on the most advanced panorama-stitching software on the market. Learn the basics and the most advanced tools in PTGui Pro.

3.5. Comparison: Which software should I use?
We discuss all the pros and cons of using Lightroom, Photoshop, and PTgui Pro for stitching Milky Way panoramas. We analyze a real-life example and I give my recommendations according to your budget and goals.

3.6. Bonus: Milky Way vertical panoramas
Bonus video that shows how to capture and edit Milky Way vertical panoramas.

4.1. Blendings in Milky Way photography – types
Blendings are crucial for getting the highest-quality photos of the Milky Way. Learn the different types of blendings for the foreground and for the sky.

4.2. Blending post-processing: 1st Semiautomatic selections
There are many ways to make selections, and in this video, we will focus on the first type, also known as semi-automatic selections.

4.3. Blending post-processing: 2nd Luminance and color selections
Learn how to do blendings in complex scenarios, such as shots with trees and branches on the horizon, using luminance and color selections.

4.4. Blending post-processing: 3rd Final blending of the images
Create a perfect blend of two images that looks completely merged and uniform with a series of steps and useful tricks in Photoshop.

5.1. Advanced post-processing – Star reduction
Reduce the size of the stars and get cleaner images with more details in your Milky Way with the best Photoshop star reduction techniques.

5.2. Advanced post-processing – Milky Way structure
Learn the most advanced techniques to extract and highlight the entire structure of the Milky Way without artifacts or noise.

5.3. Advanced post-processing – Dodge & Burn
Using this Dodge & Burn technique will generate more volume and interesting elements in your Milky Way images.

5.4. Advanced post-processing – Natural colors of the Milky Way
I show you the best technique to extract all the natural colors of the Milky Way and the night sky. You’ll extract and enhance all the colors of the nebulae, the stars, the airglow…in a couple of easy clicks!

6.1. Start to finish – Mobius arch
Complete start-to-finish post-processing tutorial using stacking and all the advanced post-processing techniques explained during the course.

6.2. Start to finish – Badwater basin
Complete start-to-finish post-processing tutorial of a Milky Way panorama with a blue-hour blend and all the advanced post-processing techniques explained during the course.

7.1. Conclusion
Some final pieces of advice to help you grasp all the advanced techniques explained in the course more quickly and get ready for the ultimate goal: Tracking!
CAPTURE THE MILKY WAY PRO TRACKING MODULE

1.1. Introduction
An introduction to the Pro Tracking course. Spoiler alert: this module is going to change your Milky Way photography forever 😉

1.2. Foundations of tracking
Before getting started, it’s important to know all the basics of tracking. Learn what tracking is, what a star-tracker is, and the pros and cons of tracking.

2.1. Tracking camera gear – best lenses and focal lengths
We start talking about the optimal camera gear for Milky Way tracking and the best lenses and focal lengths that you can use. I’ll show you different real-life examples and my recommendations.

2.2. TRACKING CAMERA GEAR – star-trackers
Which tracker should I use? We’ll dive into the different types of trackers on the market, their pros and cons, and my recommendations according to your budget and goals.

2.3. Other tracking accessories
You’ll learn all the must-have and recommended accessories for Milky Way tracking. This will make things much easier in the field.

3.1. Polar alignment basics
The most important step and #1 error when tracking. Learn all the foundations of a good polar alignment to capture pinpoint stars.

3.2. Polar alignment – finding north
Learn how to find Polaris in the northern skies with some easy tips.

3.3. Polar alignment – finding south
Learn how to find Sigma Octantis (“Australis Polaris”) in the southern skies using the best reference.

3.4. Polar alignment – best apps
Finding the North and South Celestial Poles is easier than ever with these apps. I’ll show you my favorite apps to polar align and how to use them.

3.5. How to Polar align – Step by step
The complete step-by-step polar alignment tutorial that I’d have loved to see when I was starting. I go down from the basic steps to the smallest details so you won’t have any problems in the field.

3.6. Polar Alignment tips
Avoid all the trial and error with the best polar alignment tips, like how to correct in the middle of a shooting, or how to polar align inside a cave without using Polaris/Octans.

4.1. MSM Rotator review & setup guide
Learn all the pros and cons of the MSM rotator, when you should use it, what the limits are…and most importantly, a complete, step-by-step guide on how to use it in the field.

4.2. Sky-Watcher Star Adventurer Pro Review & Setup guide
Full review of and complete setup tutorial for one of the most popular trackers in the market: the Sky-Watcher Star Adventurer Pro.

4.3. ioptron skyguider pro REVIEW & SETUP GUIDE
Full review of and complete setup tutorial for one of the most popular trackers in the market: the iOptron SkyGuider Pro.

4.4. Tracked Panoramas
The ultimate next level when tracking the Milky Way. I’ll show you the best gear, techniques, and recommendations to capture breathtaking tracked panoramas and mosaics of the Milky Way!

5.1. tracked camera settings
Camera settings change completely when you track the Milky Way. Learning this can require a lot of time and experience, but In this tutorial, you’ll find a guide that will shorten the process to just 40 minutes.

6.1. Pro post-processing – Advanced star reduction
Learn how professional astrophotographers reduce the stars. The details in your Milky Way images will stand out and you won’t find any artifacts in your shots.

6.2. Pro post-processing – h-alpha simulation
Extract/simulate the H-alpha colors in your nebulae even with a non-astro-modified camera. You’ll learn how to enhance the most beautiful regions in the Milky Way.

6.3. Start-to-finish tutorial – Delicate arch
Complete start-to-finish post-processing tutorial of a complex tracked image with a long exposure blend, and all the pro post-processing techniques explained during the course. Learn how to blend with an element cutting across the horizon.

6.4. Start-to-finish tutorial – Alstrom Point
The most complex start-to-finish tutorial of the entire course. We process a Milky Way tracked panorama captured with a longer focal length and a blue-hour blend. You’ll learn how to solve the most challenging issues, the ultimate post-processing techniques, and a new method to enhance the airglow in your images.

7.1. Conclusion
Some final recommendations that will allow you to capture the best possible tracked images of the Milky Way and prepare for the challenges that you’ll find along the way.
BONUS
Free Updates
Milky Way photography is constantly evolving. Every few months there are new pieces of gear, software, and post-processing techniques. The content of this course is fresh and constantly being updated.
Photo Tour Discounts
We would love to keep training in the field with you. Chasing and shooting the Milky Way with a group of passionate photographers is fun and unforgettable, so you’ll receive a discount that is equivalent to the value of this course for any of our Photo Tours. (*Valid for photo tours and workshops over $1,000)
…MORE THINGS THAT MAKE THIS COURSE UNIQUE:
COMPLETE
It’s the only online Milky Way course where you can learn everything, from the basics of Milky Way photography and how to start using Photoshop to the ultimate astrophotography techniques, and everything in between.
STRUCTURED
Everything is organized so you can follow a straightforward, step-by-step guide regardless of your current skills. You won’t have to waste hundreds of hours looking for Youtube Videos with scattered and incomplete information.
PROVEN
If you follow the instructional videos, the quality of your Milky Way images will grow exponentially. I have gone through many years of trial and error to develop the best techniques and an easy-to-grasp post-processing workflow that works effectively on any type of Milky Way image.
At your own pace
You’ll have unlimited access to all the modules and be able to watch the videos at your own pace and as many times as you need. Forget about paying a monthly subscription and enjoy lifetime access whenever and wherever you want.
HIGH-RESOLUTION VIDEOS
The videos are recorded in 4K so you can enjoy the highest video quality and watch them from any device: monitors, tablets, smartphones, etc.
ENDORSED BY A STRONG COMMUNITY
This course's content has been designed to meet the needs and demands of a vibrant community of Milky Way photographers. In order to teach, it’s important to listen first, and I’ve been helping other photographers with their Milky Way photography for years.
WHO TEACHES CAPTURE THE MILKY WAY?
This program was created and is led by Dan Zafra, a professional landscape astrophotographer and founder of Capture the Atlas, a leading photography platform and the #1 Milky Way photography blog online.
Dan’s mission is to help others discover, learn, and master their Milky Way photography. He has spent years pursuing this passion, both online through articles, guides, and ebooks, and offline on his signature photo tours.
He’s also the creator of the popular “Capture the Atlas Milky Way Calendars,” which help 80,000+ photographers plan their shots around the world every year, and the creator and curator of “The Milky Way Photographer of the Year”, an award-winning annual list that inspires hundreds of thousands of people to go out and photograph the Milky Way.
You’ve probably seen Dan in…


READY TO TAKE YOUR MILKY WAY PHOTOGRAPHY TO A WHOLE NEW LEVEL?
Capture the Milky Way

- All 3 Capture the Milky Way training modules
- 62 video lessons and 23+ hours of content
- 80+ RAW & PSD files
- Unlimited support
- Access to a private community
- 15-day money-back guarantee
- All Capture the Milky Way training
- 62 video lessons and 23+ hours of content
- 80+ RAW & PSD files
- Unlimited support & free updates
- Access to a private community
- 15 day money-back guarantee
$399
Launch offer ends in:
+ 3 month interest-free payment plan
New Year’s sale ends in:
Secure checkout

Interested in other options?
Plans | Price | |||
|---|---|---|---|---|
Choose the best Capture the Milky Way plan for you | ||||
Complete Milky Way Photography Bundle | ✔️ | ✔️ | ✔️ | $399 |
Capture the Milky Way – Advanced & Pro Modules | ✔️ | ✔️ | $269 | |
Capture the Milky Way – Basic & Advanced Modules | ✔️ | ✔️ | $199 | |
Capture the Milky Way – Pro Module | ✔️ | $230 | ||
Capture the Milky Way – Advanced Module | ✔️ | $150 | ||
Capture the Milky Way – Basic Module | ✔️ | $100 | ||
Interested in other options?
Plans | Price | |||
|---|---|---|---|---|
Choose the best Capture the Milky Way plan for you | ||||
Complete Milky Way Photography Bundle | ✔️ | ✔️ | ✔️ | $399 |
Capture the Milky Way – Pro Module | ✔️ | $397 | ||
Capture the Milky Way – Advanced Module | ✔️ | $297 | ||
Capture the Milky Way – Basic Module | ✔️ | $197 | ||

100% SATISFACTION GUARANTEE
This program has taken me a long time and a lot of effort to develop, so I’m 100% sure that you’ll find real value in it and that it’ll help you learn and improve your Milky Way photography.
However, if, for any reason, you start the program and you think that it’s not the right course for you, contact us at any time during the first 15 days after your purchase and I’ll process the refund, no questions asked!
Our Happy Students!
I’ve had the opportunity to work with and help countless photographers over the last few years. Sharing and teaching photography is my passion, and I love doing this both online and in the field.
Is this the right course for me?
If you’re still wondering if this is the right course for you, I guarantee that you’ll get an invaluable amount of knowledge and joy out of the course regardless of your experience and skills:
If you're starting out...
This course will create the best foundation for your Milky Way photography, with an easy-to-follow chronological order where we’ll cover everything, from the basic settings to getting started with software like Lightroom or Photoshop.
As you keep learning and practicing, you’ll gain all the tools to continue expanding your Milky Way photography knowledge.
If you have some knowledge and experience...
You are about to experience a revolutionary change in your Milky Way photography. Once you start implementing advanced techniques, such as stacking, blendings, and especially, tracking, the quality of your images will increase exponentially.
The best techniques and advanced post-processing are waiting for you!
If you are a seasoned pro...
In this program, you’ll learn plenty of shooting and post-processing techniques that will take your Milky Way photography to the ultimate next level.
Tracked multirow panoramas of the Milky Way arch combined with blue-hour and focal length blends, professional astrophotography software to reduce stars with no artifacts, top-notch techniques to create H-alpha simulation in your Milky Way nebulae…the sky is the limit!
BRING YOUR MILKY WAY IMAGES TO LIFE!
Let's sum things up - Here's everything that's included in your course
- The Capture the Milky Way complete training
It has taken me years and thousands of dollars to learn, distill, refine, and package this three-module course with more than 60 lessons and 23 hours of content into an easy-to-follow format that gets you results.
This includes 6 complete start-to-finish post-processing tutorials, which typically cost $50 when sold separately.
($600 Value)
- Practice materials
Apart from extensive tuition and examples, this course includes all the RAW files and PSDs so you can start practicing as soon as you enroll.
80+ RAW files are included, so you can edit single images, stacking, blendings, tracked images, tracked panoramas, and multirow tracked panoramas.
($120 Value)
- Unlimited Support
Ask me questions, get feedback, and I’ll do my best to help you progress with your Milky Way photography!
I no longer do one-on-one coaching, but the last one I did, I was charging $70/hour. Enroll in this course and whenever you need help, I’ll be there.
($200 Value)
- Access to a private community
Share your work, receive constructive feedback, learn new tips, connect, meet up and shoot with other photographers…the relationships and connections within a private community of like-minded photographers who share the same passion are invaluable.
(Priceless)
Total Value of Capture the Milky Way: $920
Total Price of Capture the Milky Way: Only $399
Black Friday sale:
$399
“As a self-taught Milky Way photographer, I know the time, effort, and frustration involved in taking quality images of our galaxy.
This complete course distills hundreds of hours of research, shooting in the field, and experimenting in post-processing into an easy-to-follow yet effective workflow that you can apply in the field and in your studio.
I’m looking forward to helping you take your Milky Way photography to new heights…the sky is the limit.”

DAN ZAFRA
SOME FREQUENT QUESTIONS
WHAT IS THE FORMAT OF THE COURSE?
Once you join the course, you’ll be able to access all the instructional videos and downloadable elements on our online platform. This platform has been specifically designed for this course, and it’s reliable and very easy to navigate. You just need a device with a screen and an internet connection.
DOES ACCESS REQUIRE A SINGLE PAYMENT OR A MONTHLY SUBSCRIPTION?
This online course requires a single payment. After that, you’ll have lifetime access and be able to watch all the videos and tutorials at your own pace.
DOES THE COURSE INCLUDE SUPPORT?
This course includes unlimited support. It doesn’t matter what you need or when you ask for help, I’ll be there.
WHAT SOFTWARE DO YOU USE IN POST-PROCESSING?
The main pieces of software in post-processing are Lightroom and Photoshop.
We’ll also use other programs for some specific functions, such as Denoise AI, PTGui Pro, or Nik Collection. All the pieces of software include a dedicated video on how to use them.
CAN I FOLLOW THESE TUTORIALS USING LUMINAR OR CAPTURE ONE?
You can definitely use Luminar, Capture One, or other pieces of software instead of Lightroom for the file preparation and the basic edits. The principles will be the same and you’ll be able to apply the same methodology.
Once we dive into the advanced post-processing, most of the workflow will be done in Photoshop.
DO I NEED TO KNOW PHOTOSHOP TO FOLLOW THE TUTORIALS?
Not at all. The more you know about Photoshop the faster you’ll advance in the course, but if you have never used Photoshop before, I’ll walk you through all the steps in the basic module.
I know how terrifying starting out in Photoshop can be, so following the different modules will help you see that it’s easier than it seems.
WHAT IF I’M NOT SATISFIED WITH THE COURSE?
If, for any reason, you’re not satisfied with the course, you have a 15-day money-back guarantee.
Just contact us during this period and we’ll process the refund. No small print and no questions asked.
Any other questions?
Capture the Milky Way
$399 $159
BLACK FRIDAY offer ends in:

